SUSPENSION
NOVEMBER 14, 2014
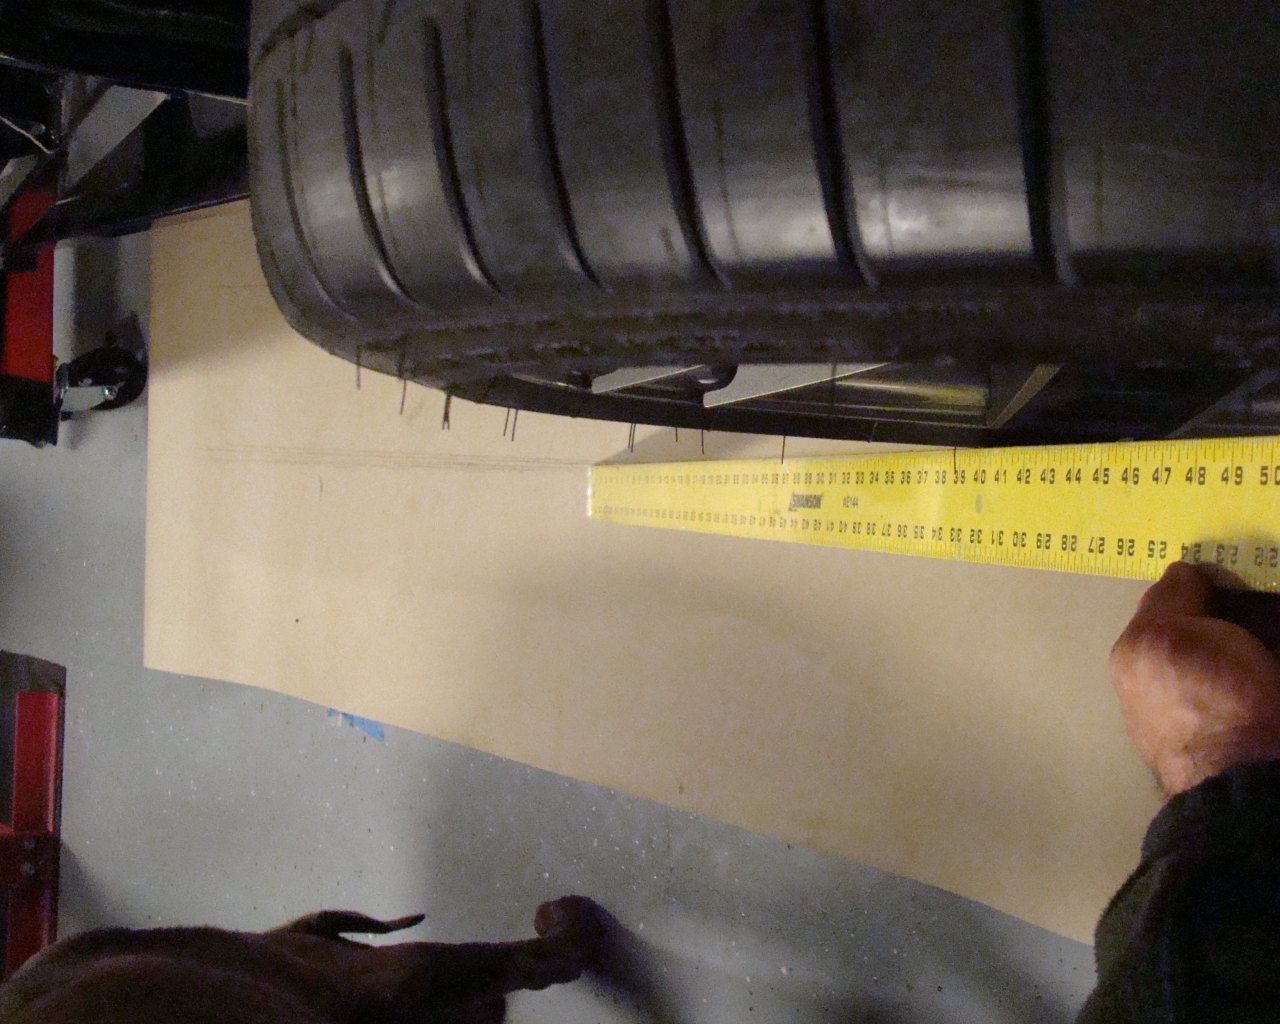
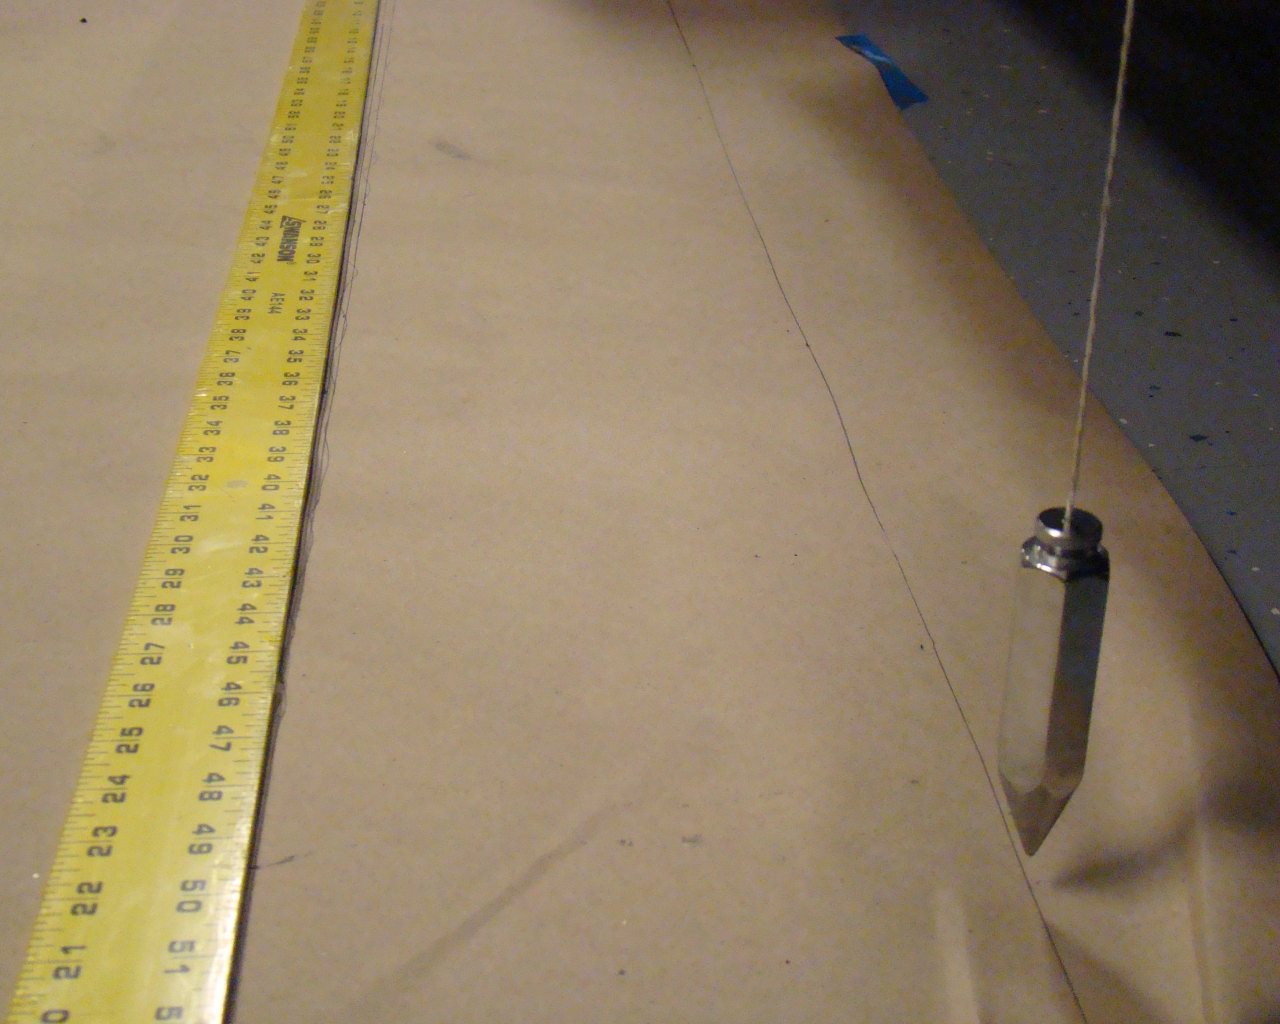
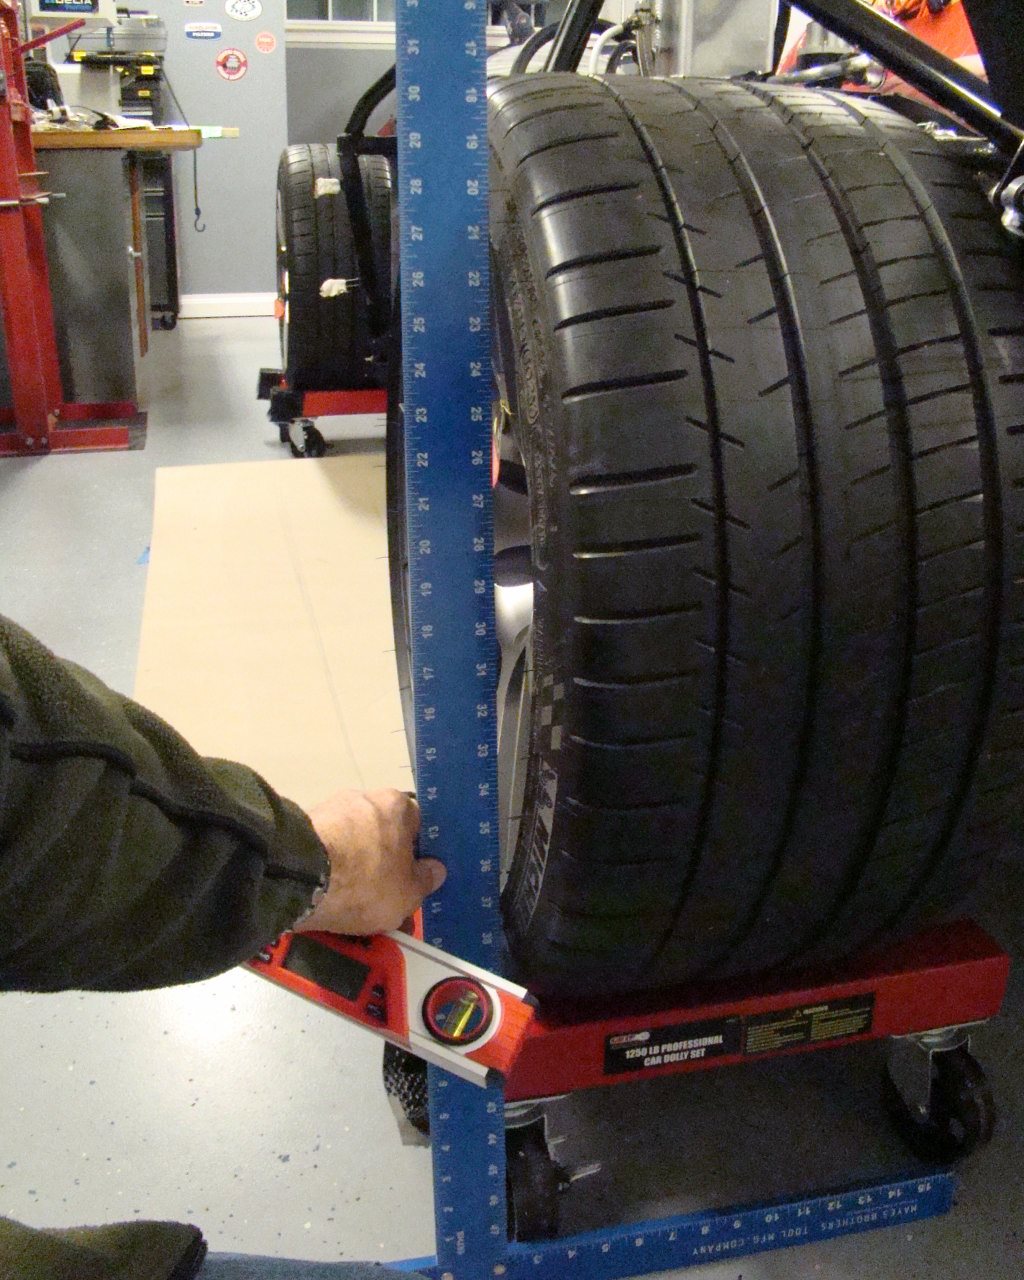
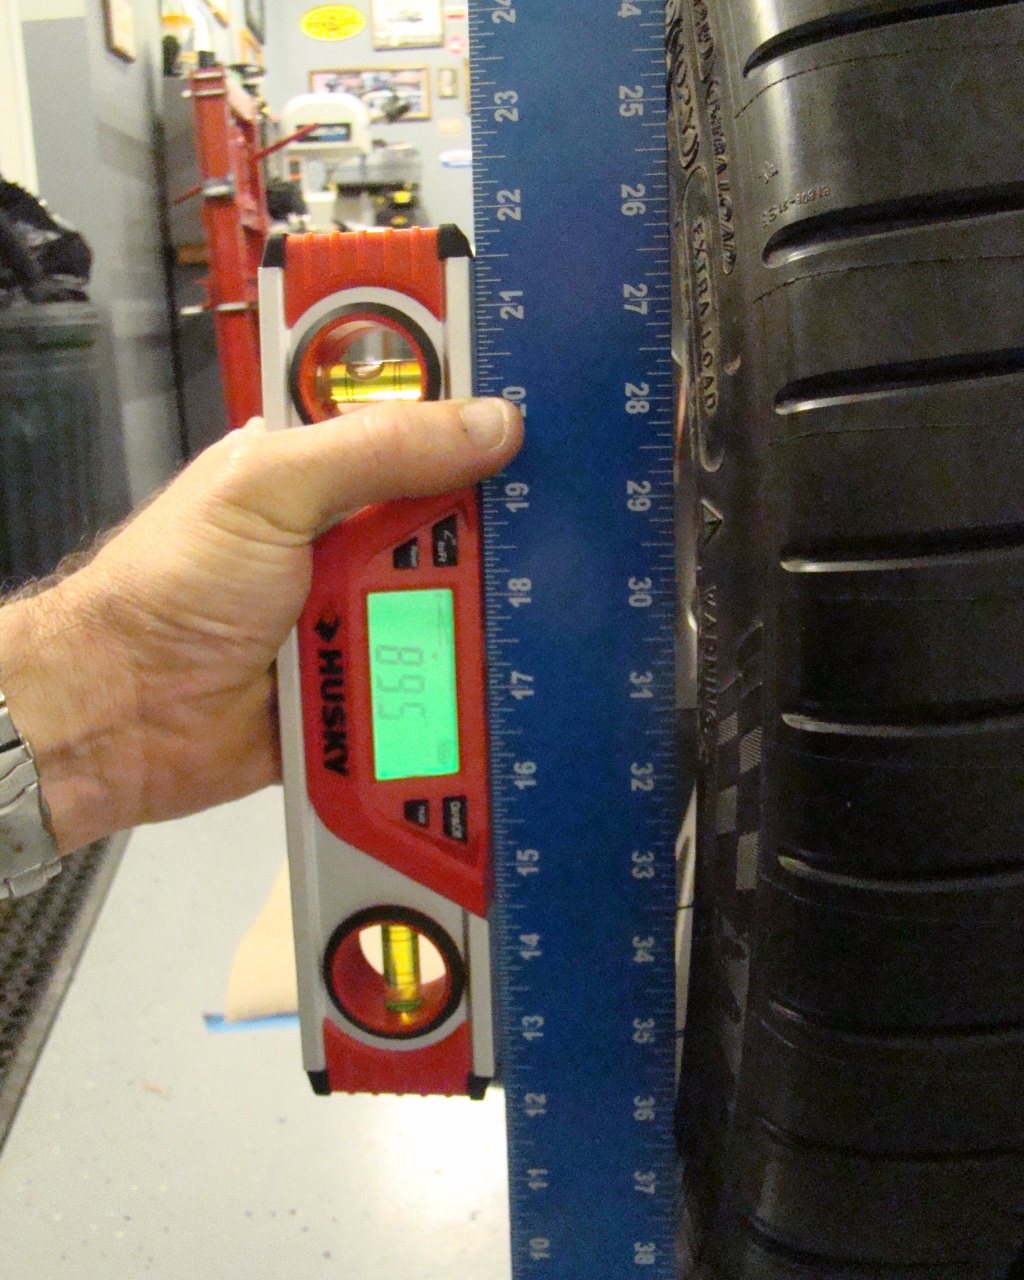
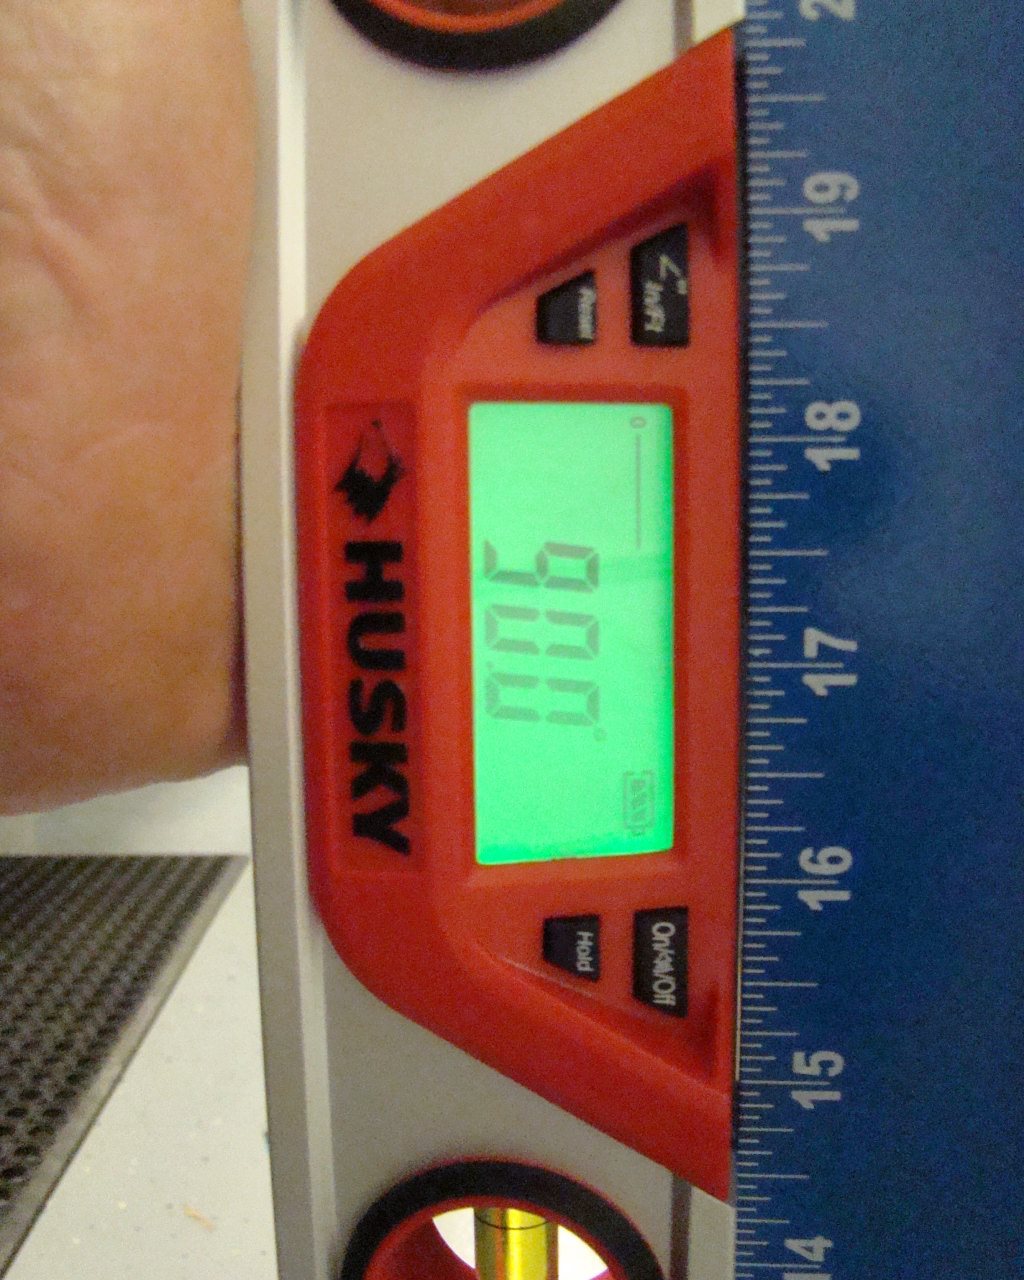
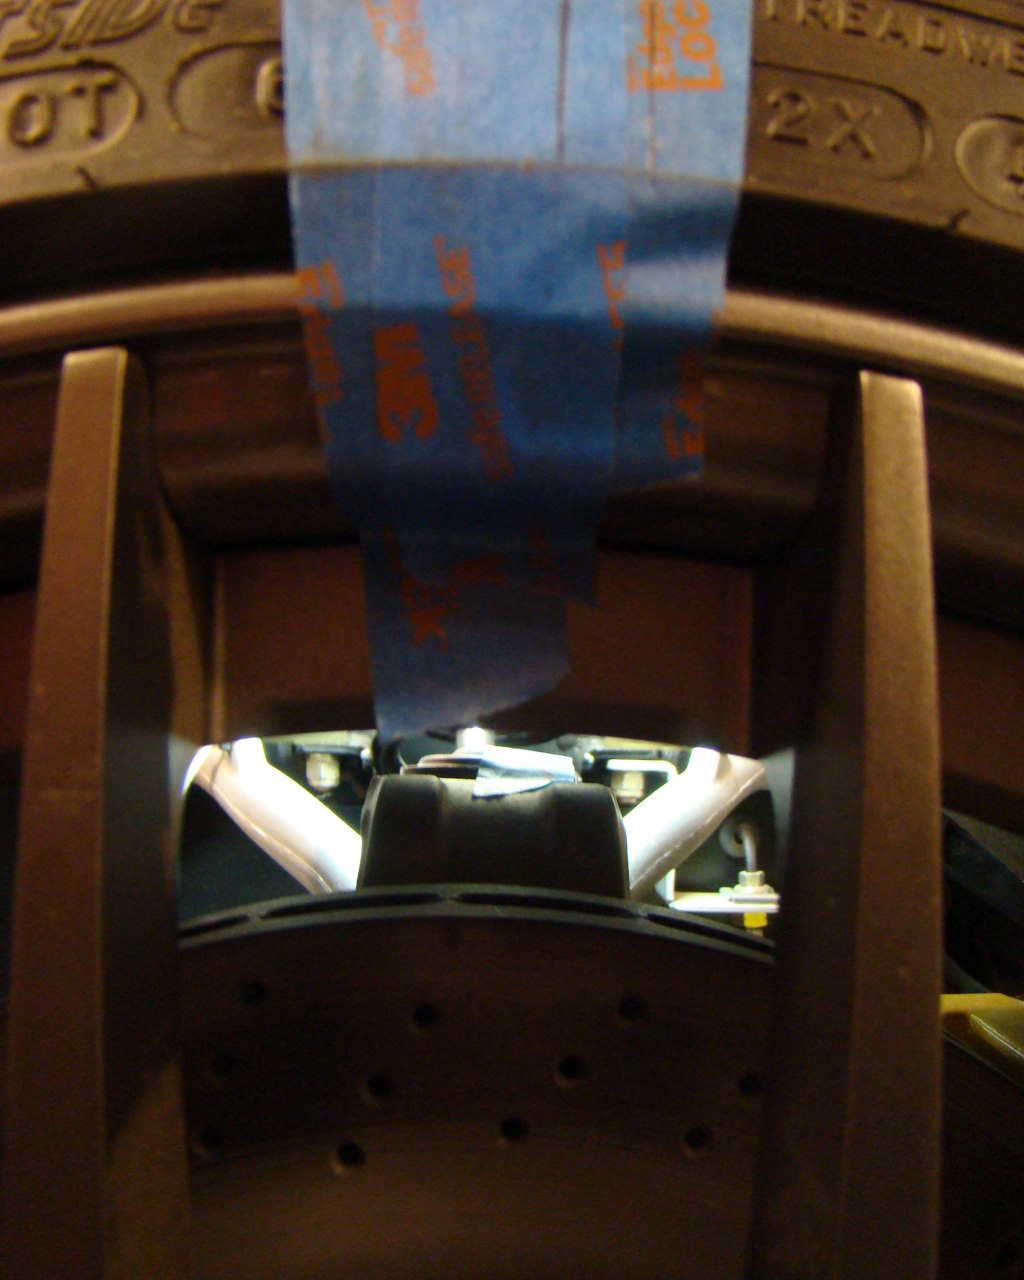
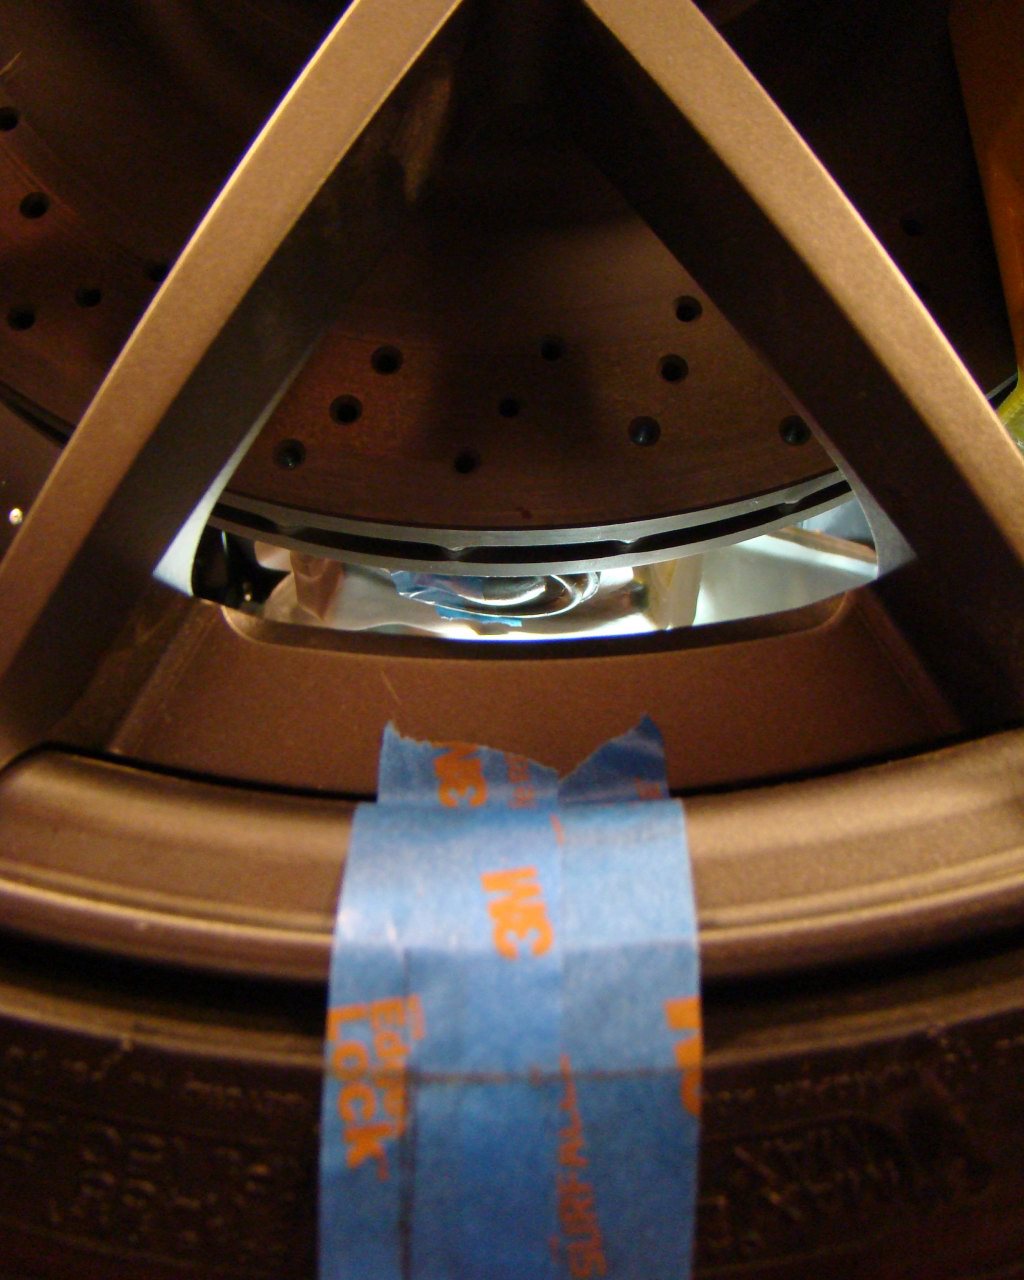
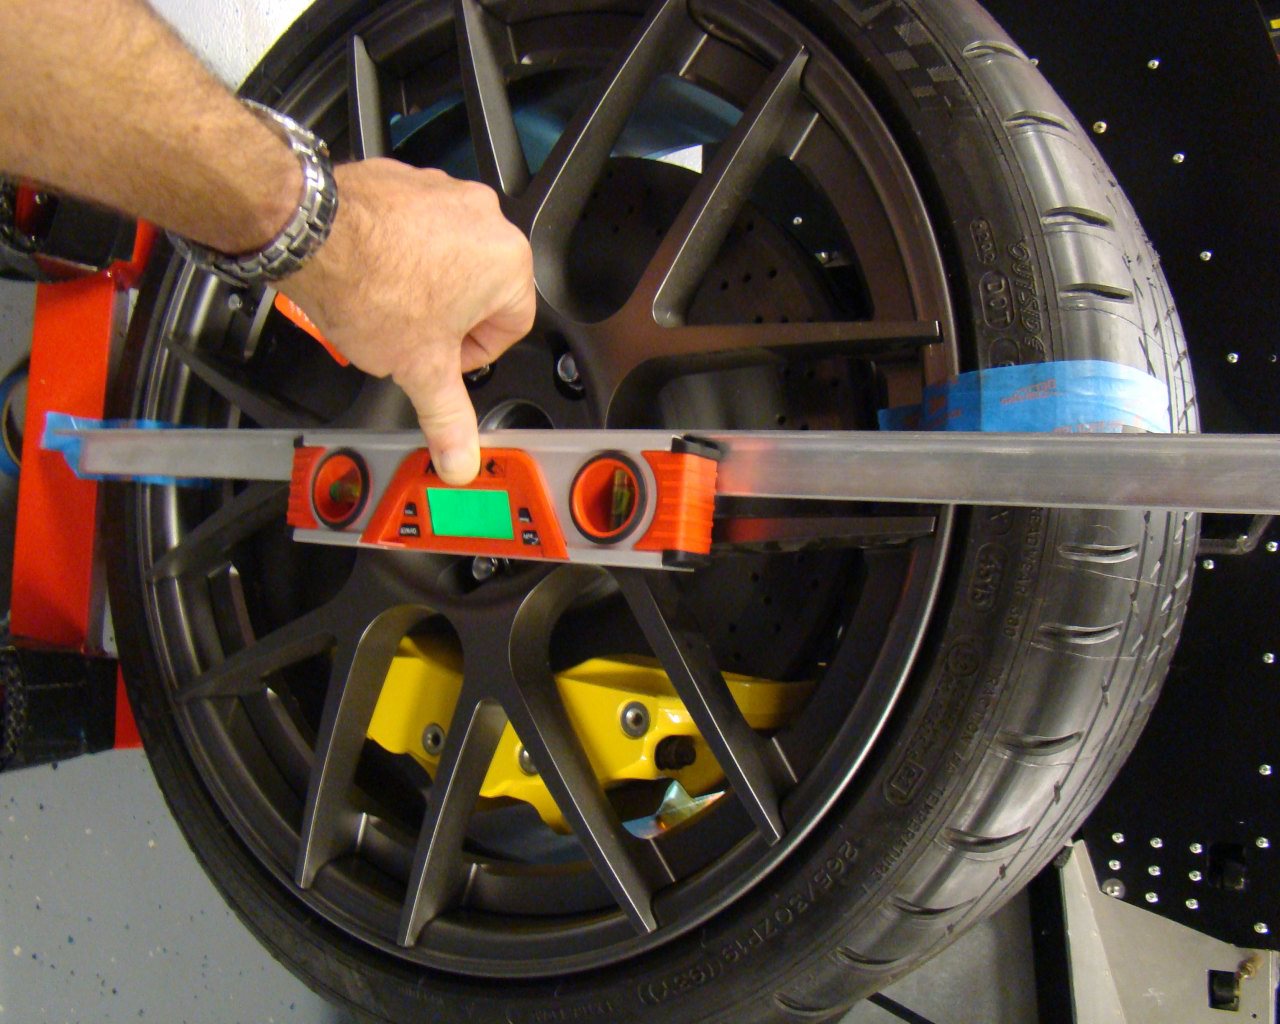
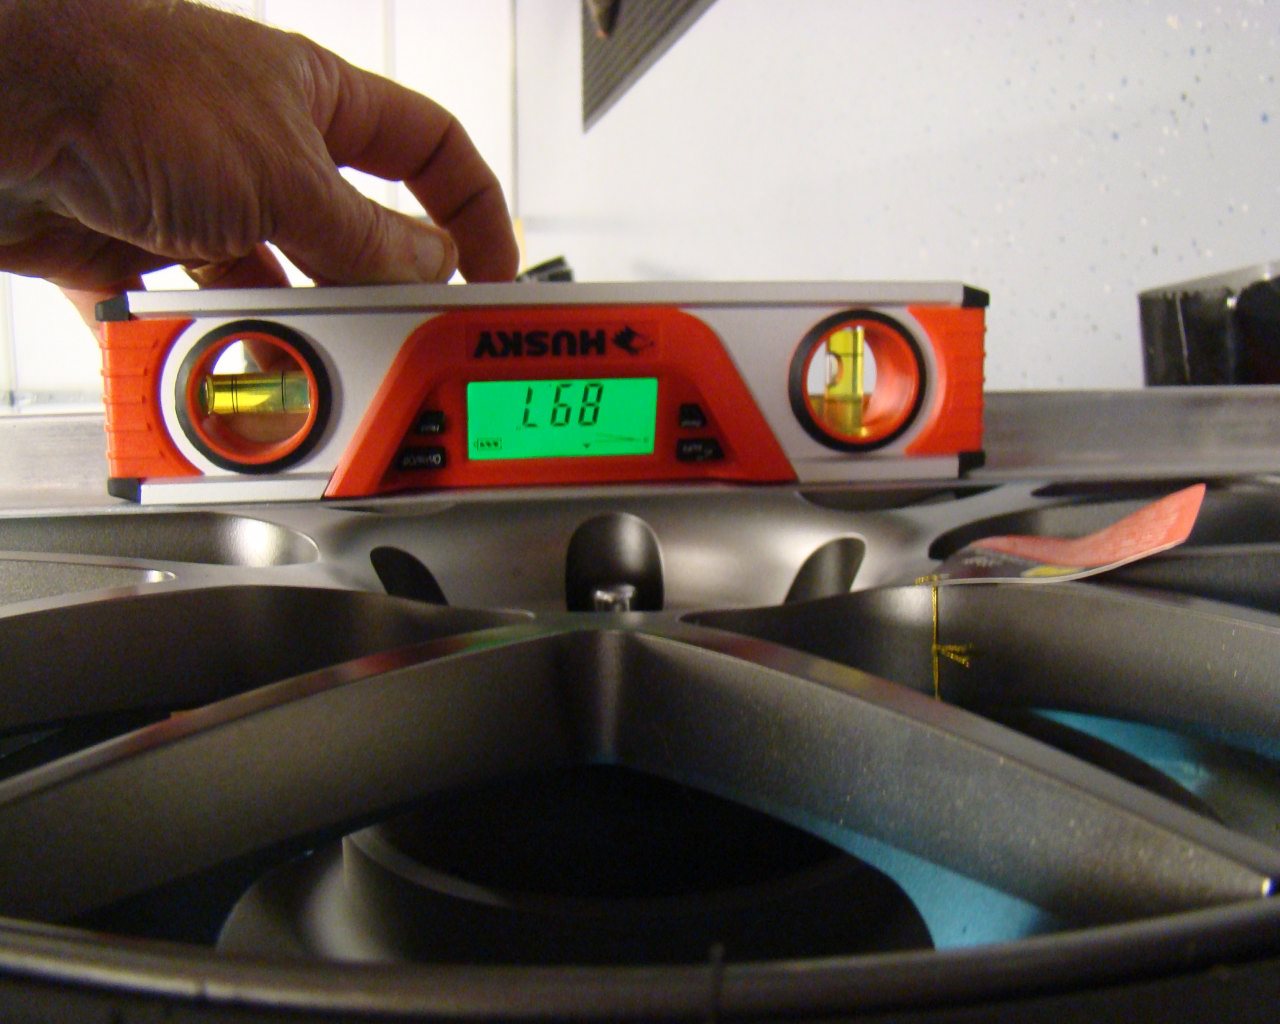
Below are photos of various alignment
adjustments done with a straight edge, 72 inch aluminum ruler,
digital protractor and tape measure. There's a video as well
to explain it.
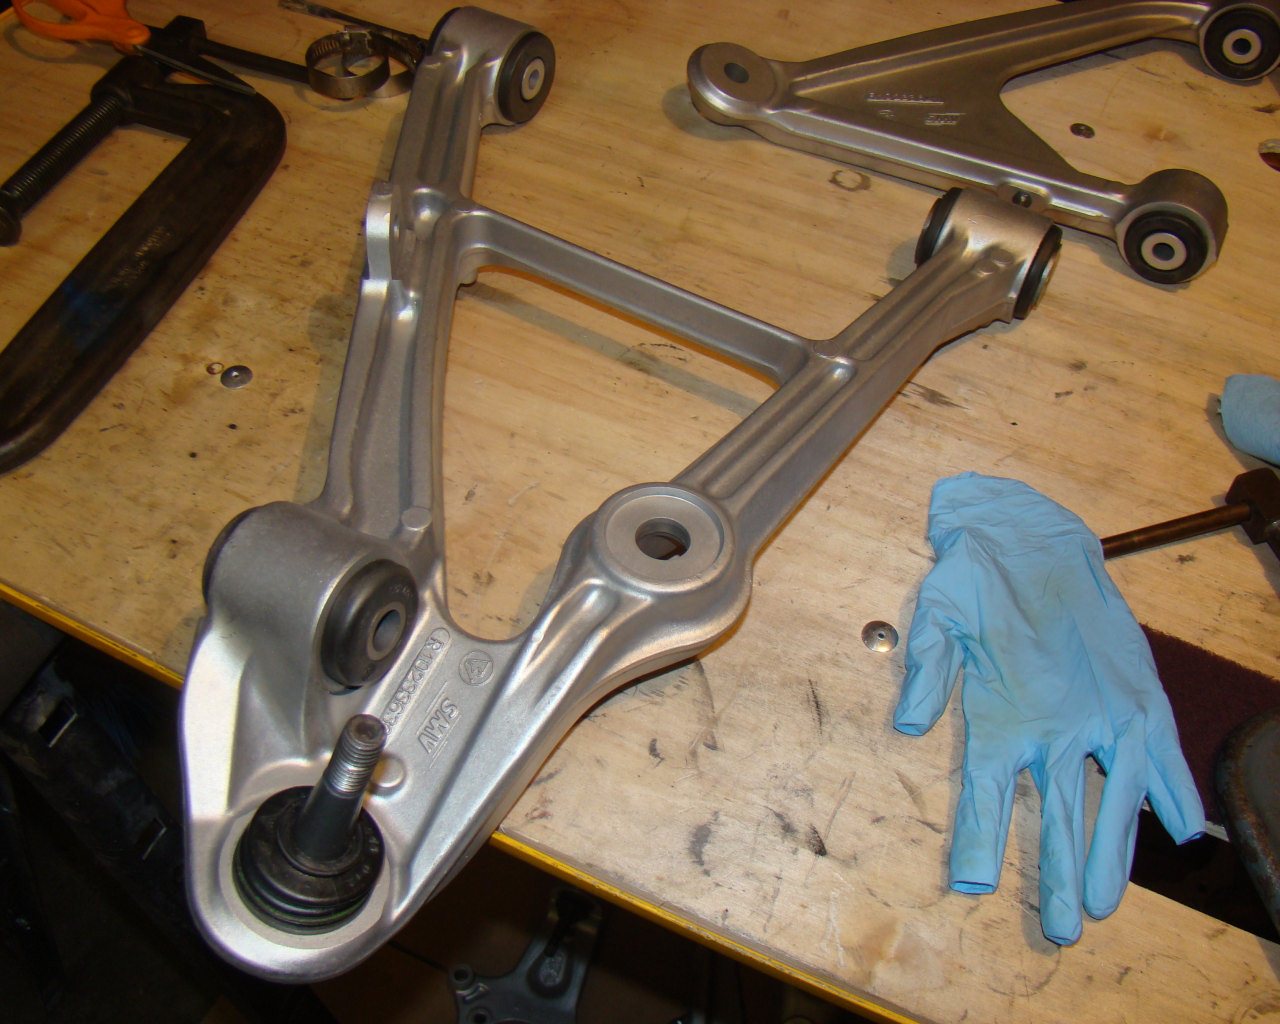
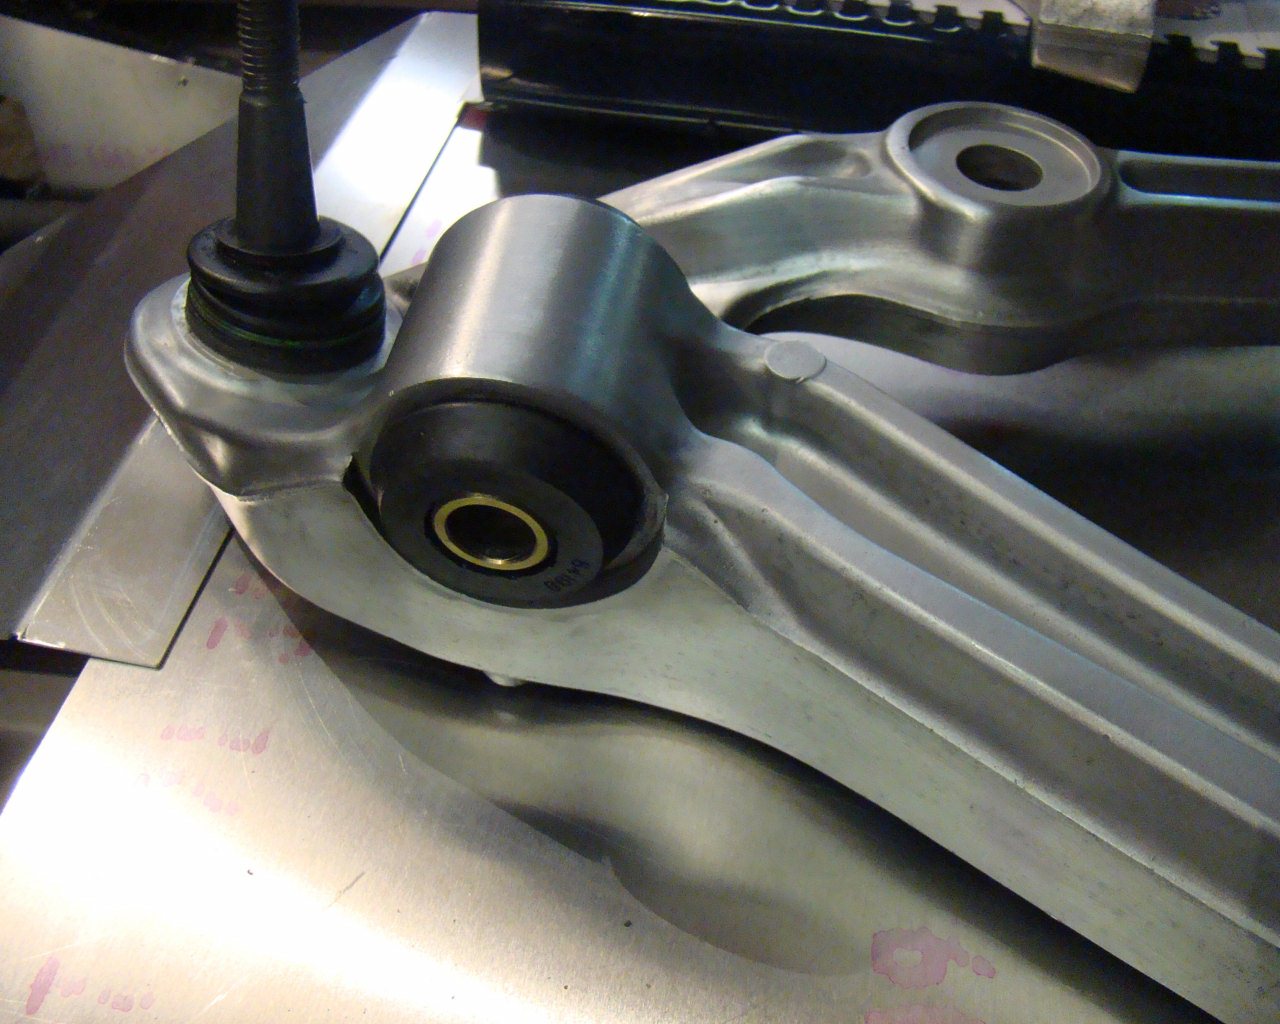
I should have started with the removed A-arms and uncleaned
suspension components to show you some of the work involved prior
to this stage. The truth is, you have to remove these,
dissassemble, clean, sandblast and install bushings if you want
them to look like this. Yes, you can simply swap from the
donor Corvette but the Prothane urethane bushings used here really
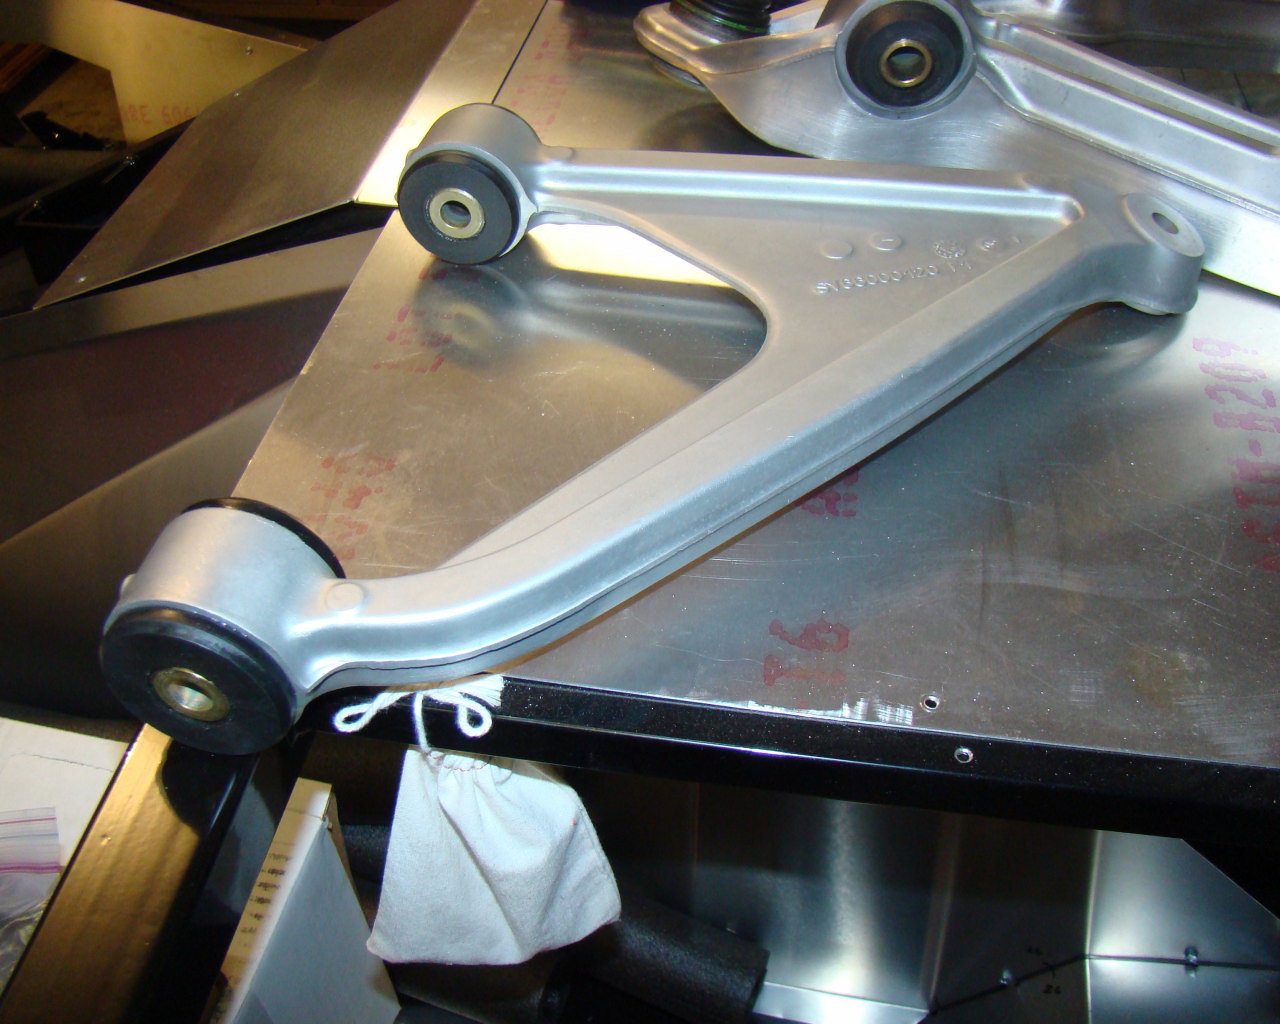
improve the overall stability of the suspension. At this
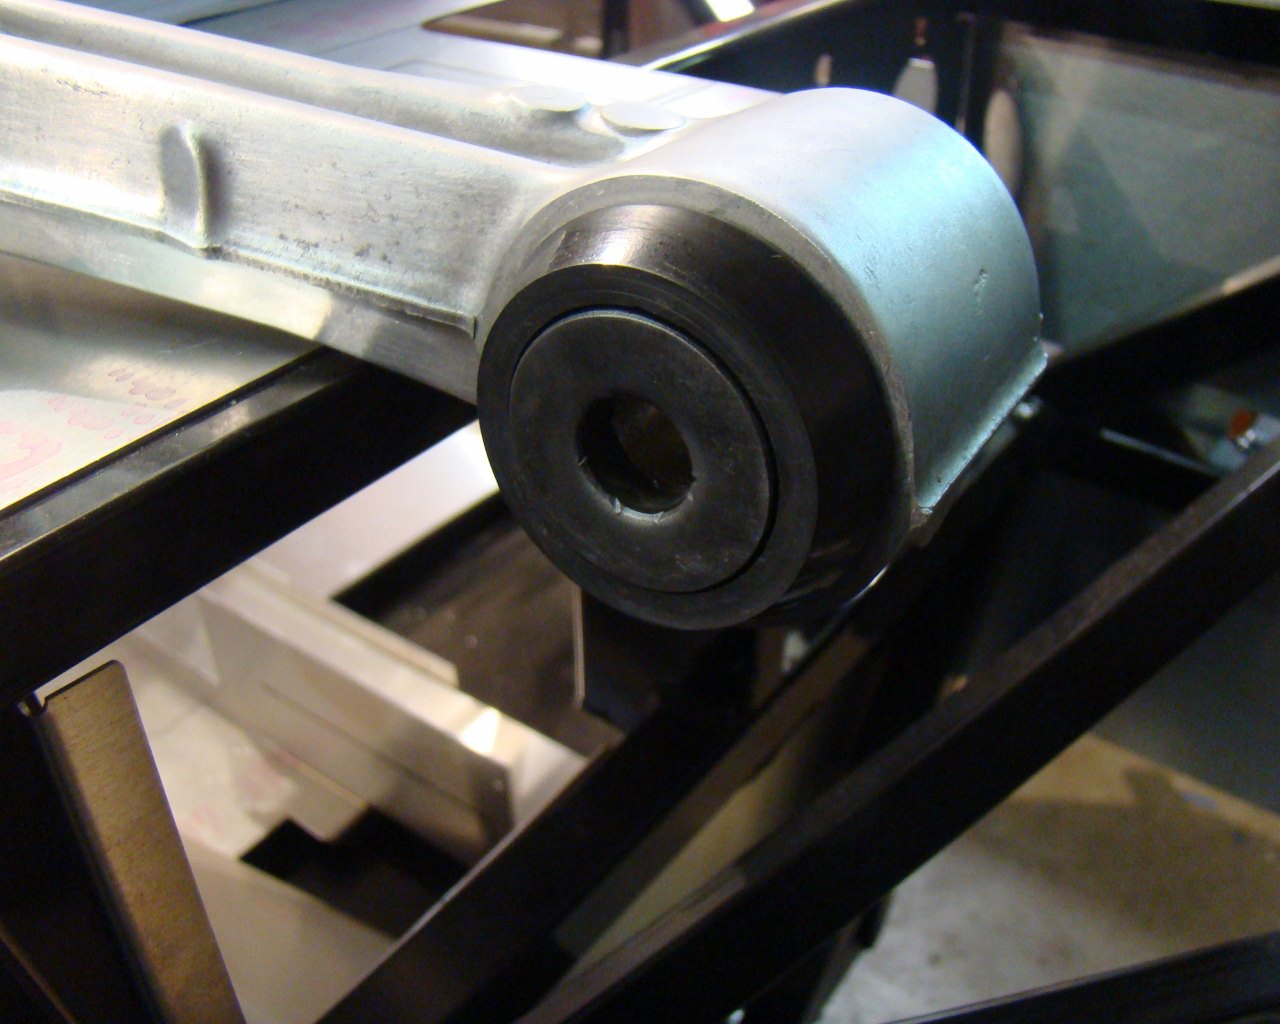
stage in the photos I've finished the sandblasting and installed
the bushings. The bushing installation required a 12 to 20
ton press, various adapters and patience. Some of the
bushings wanted to slip out and fly across the garage. Others
required that I burn the rubber off the metal components of the
Corvette bushings and use the metal pieces with the new urethane
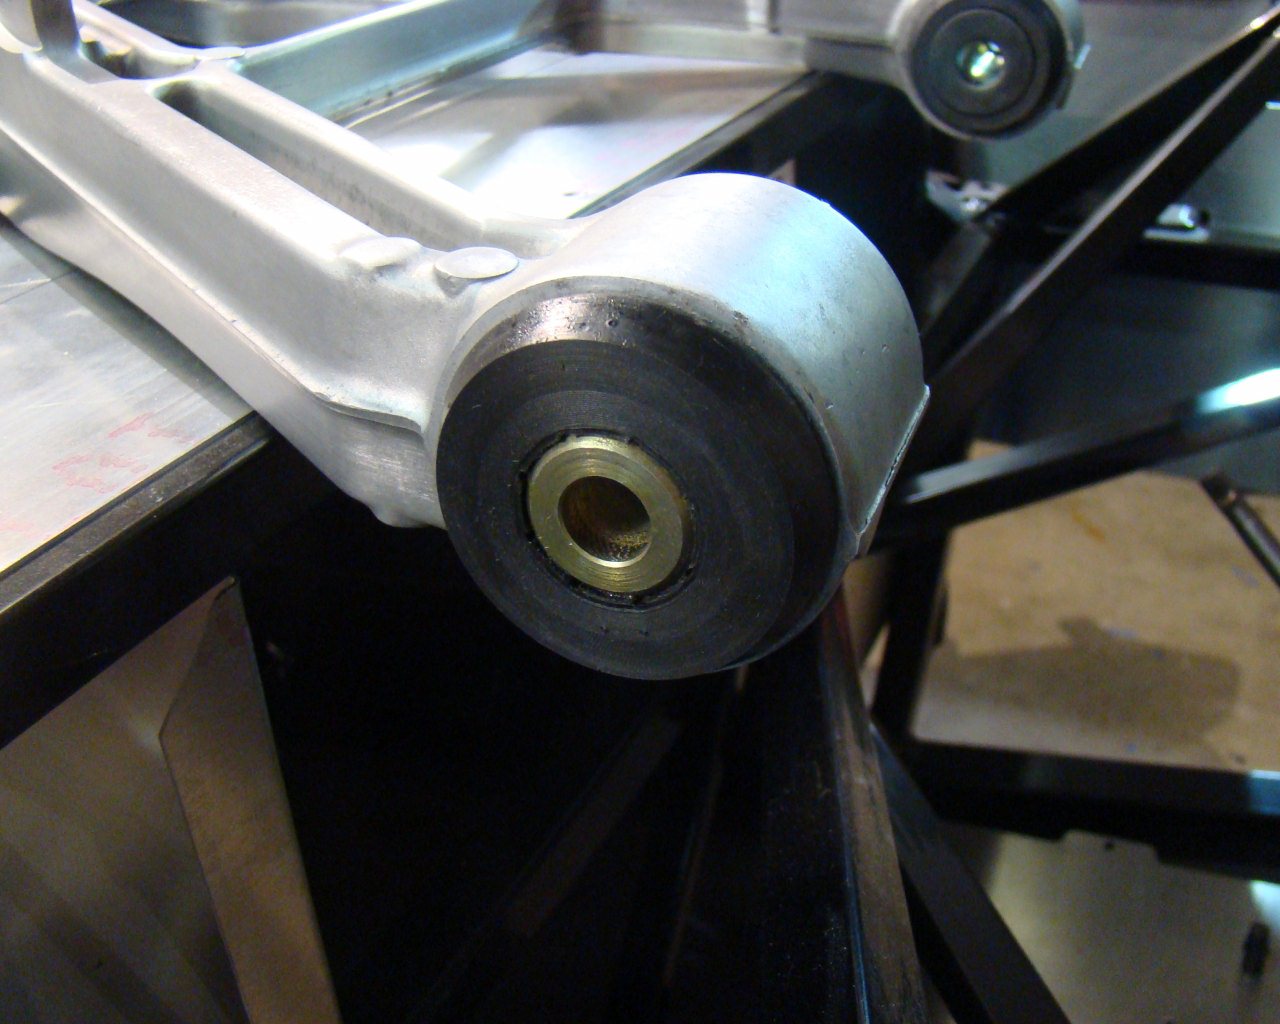
bushings. The bushing kit was a bit of a puzzle. When you
first get it, there's alot of pieces that look pretty close to the
same. Take your time and doublecheck bushing width, washer
placement and orientation. This turned out to be a little
more time consuming than I thought.

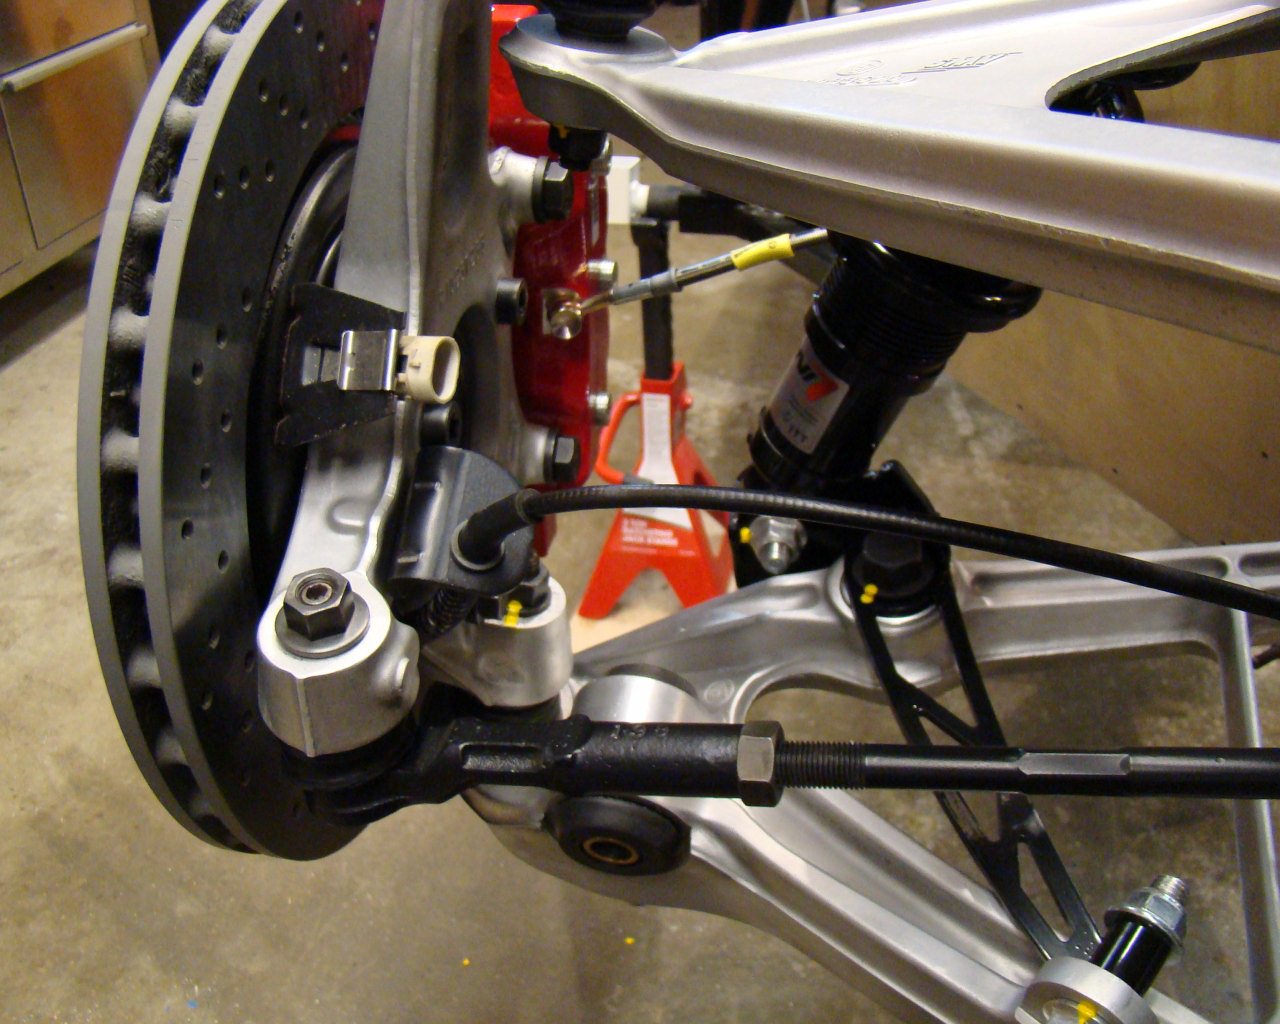
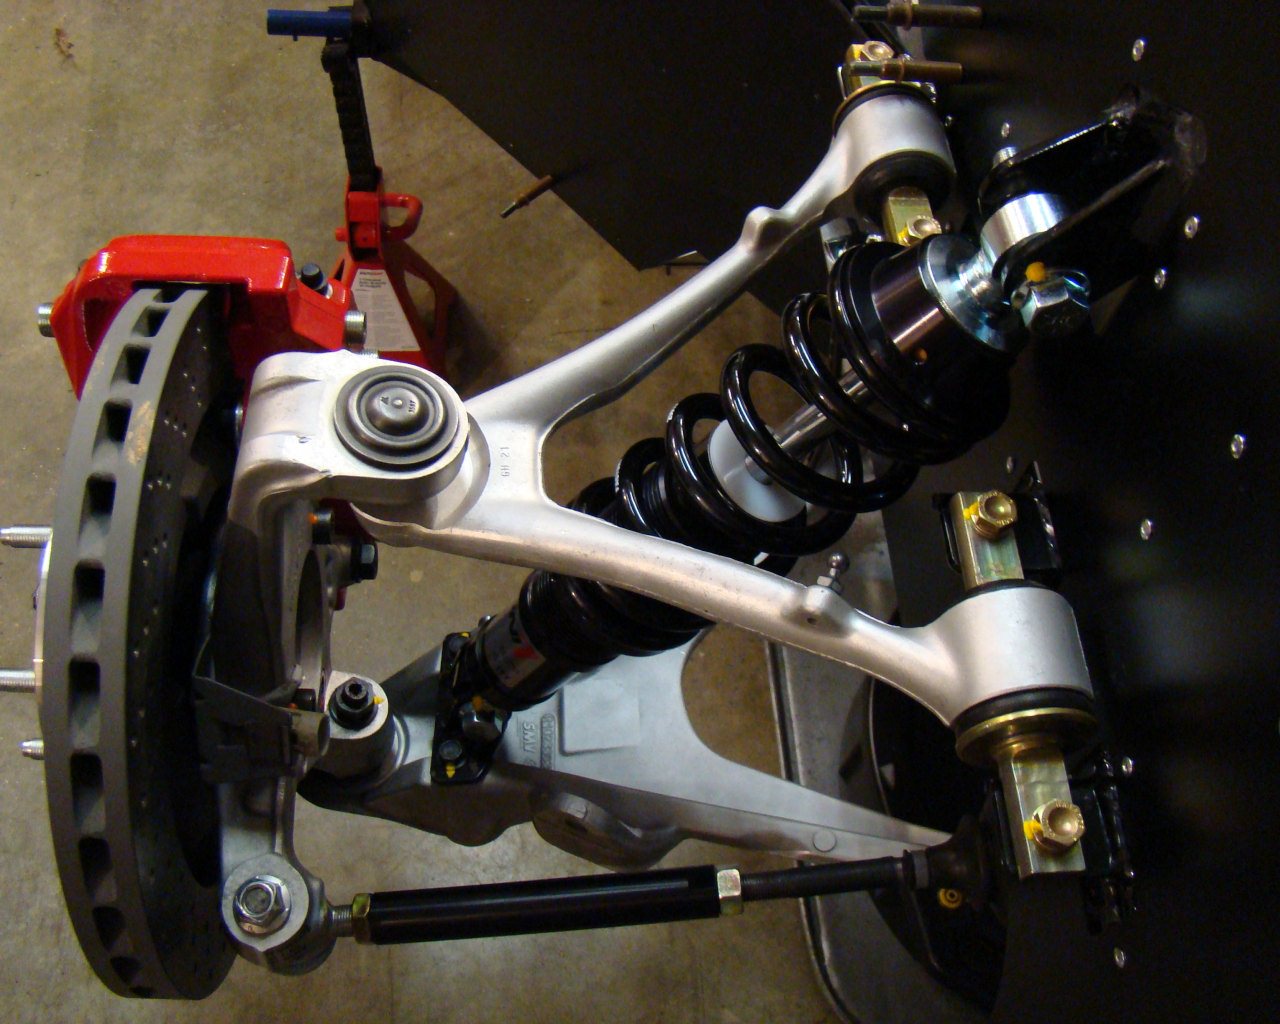
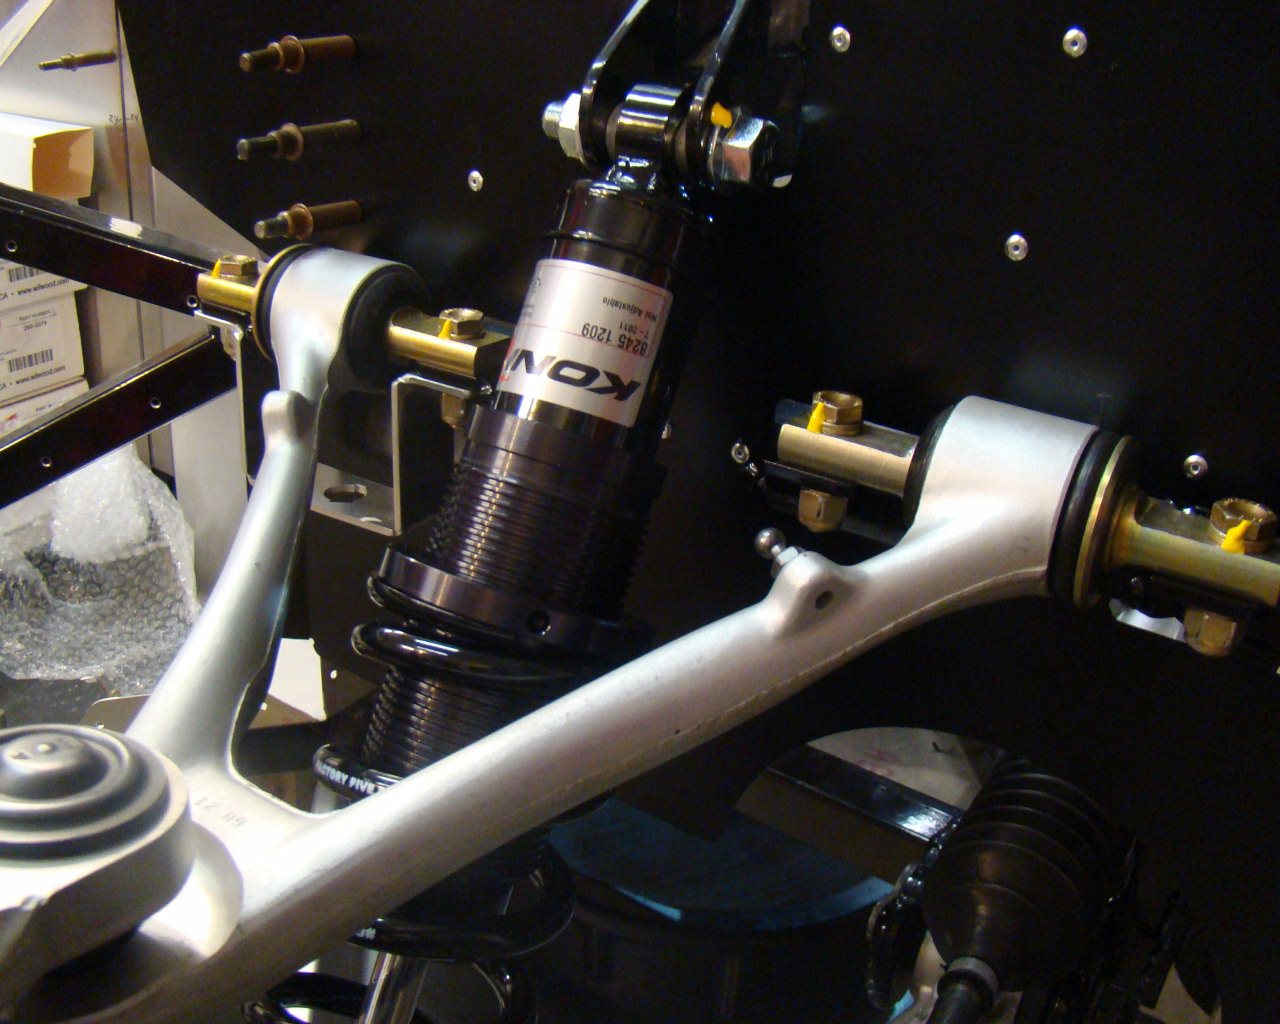
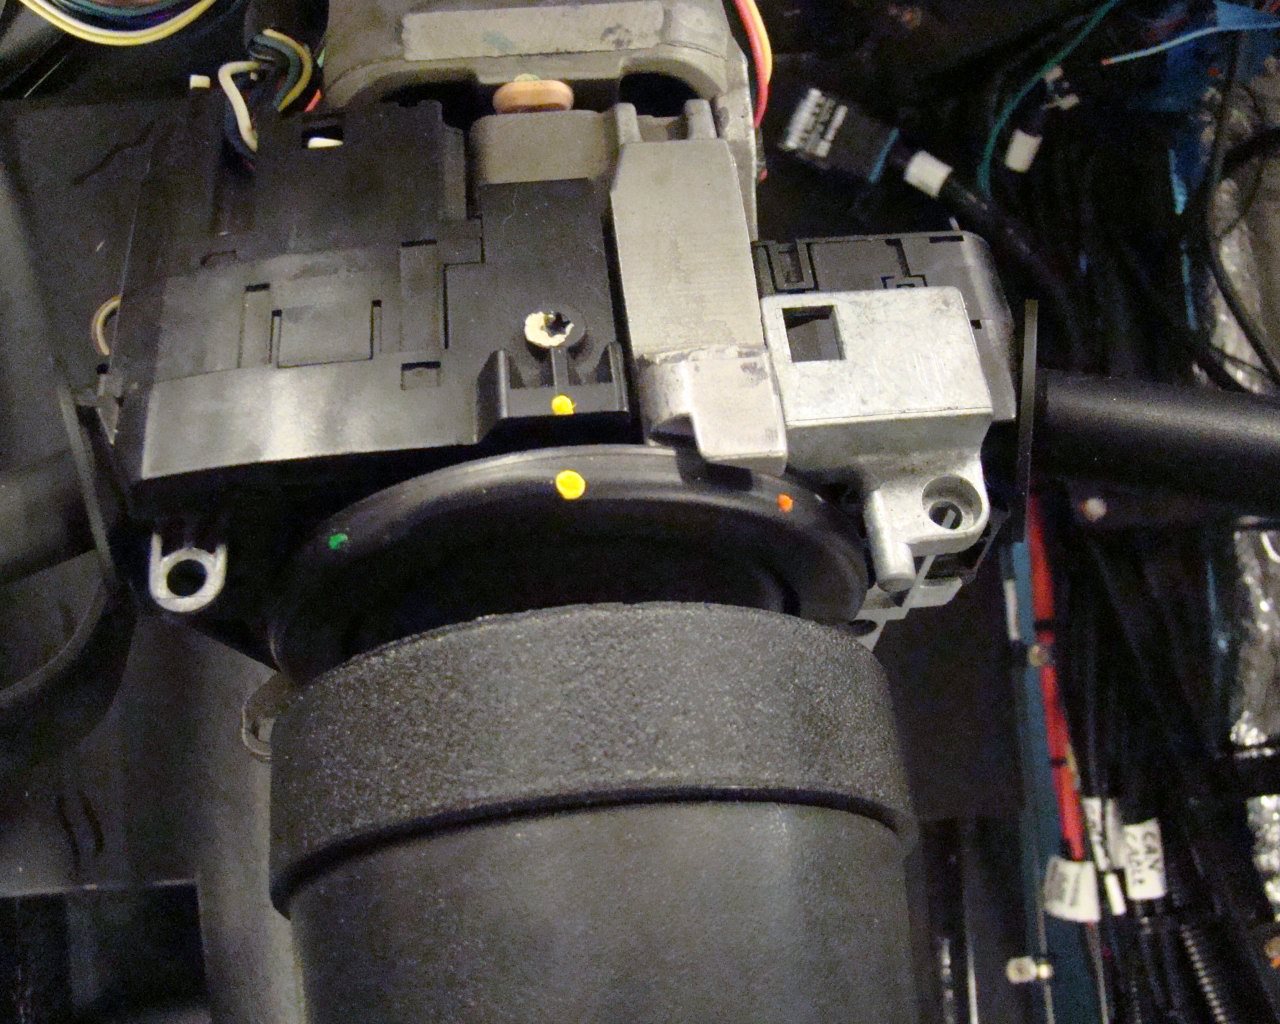
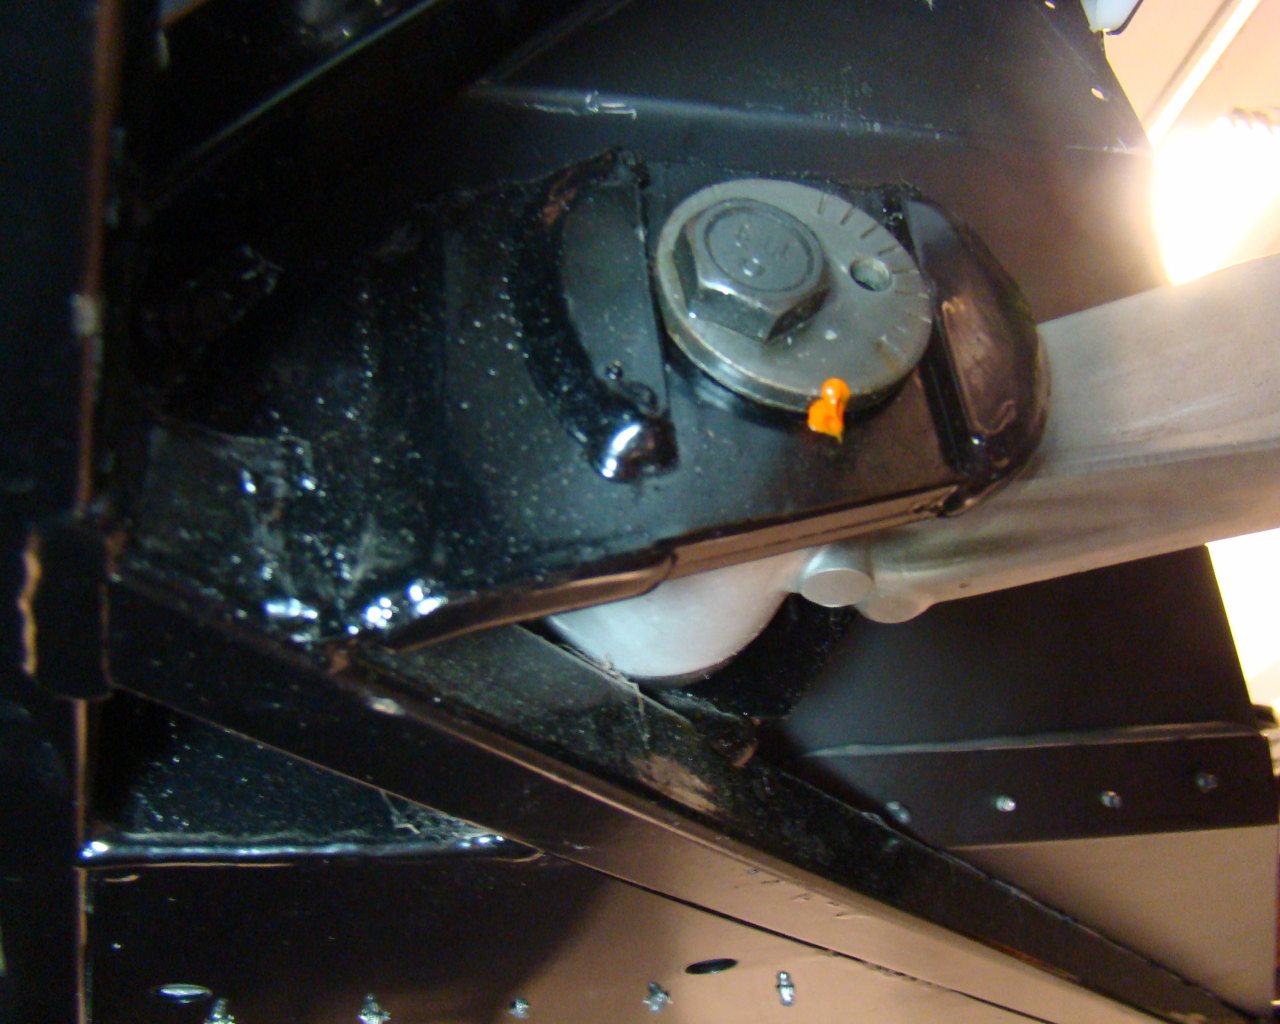
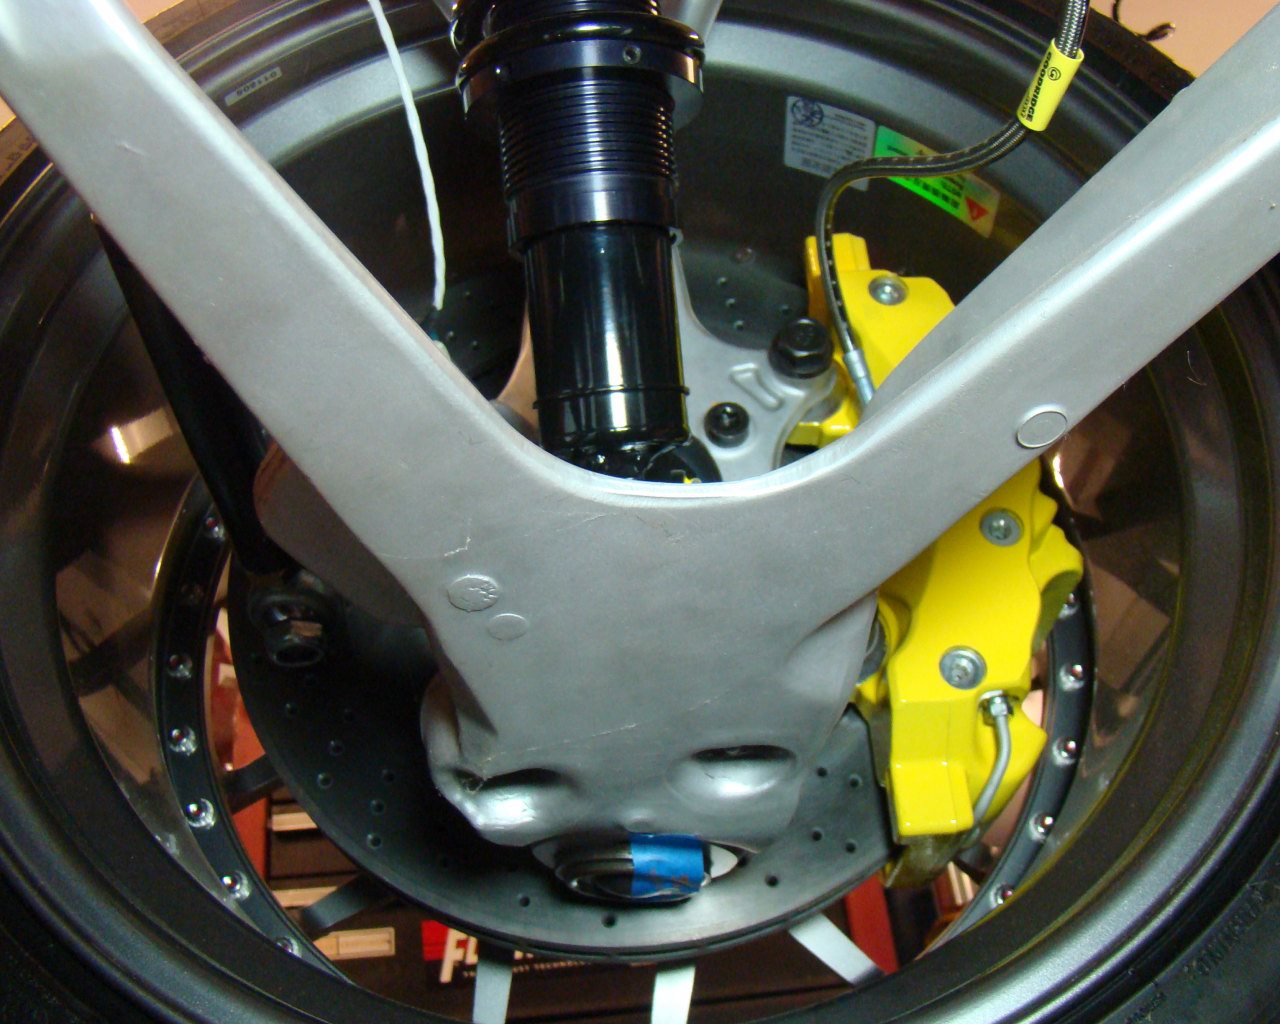
DON'T FOLLOW THE INSTRUCTION MANUAL WHEN YOU MOUNT YOUR SHOCKS. DO A GOOGLE SEARCH FOR "GTM SHOCKS UPSIDE DOWN" AND RESEARCH THIS ISSUE THAT NEVER MADE IT TO THE MANUAL! I didn't and had all four corners installed before I realized all shocks were upside down IAW the GTM assembly manual. When I found out I had to remove them all and re install. Not all shocks can run upside down. These Koni's don't because of their design. The photos show correct installation with the spring on the top.
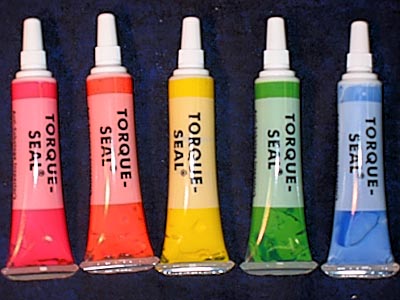
On most
components I used Torque Stripe which can be purchased at Aircraft
Spruce or Amazon. It is a Laquer based anti sabotage paint
used as an indicator that hardware has not loosened. It also
provides a means to track the hardware you have torqued which is
useful when not all hardware in a particular area is
complete.....or when you forget.
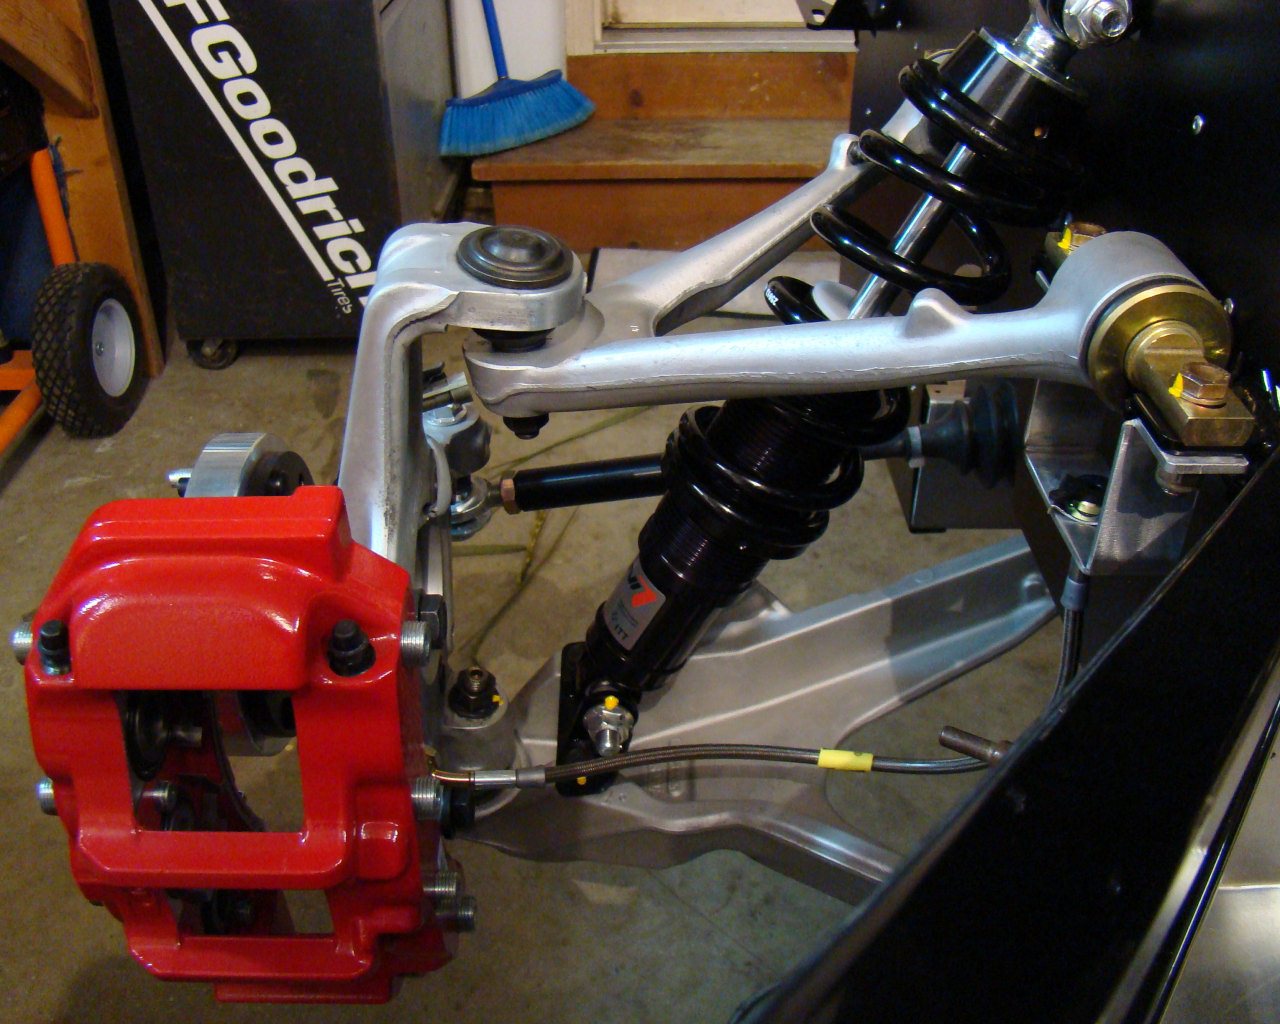
All stock hardware was retreated and
most of the nuts and bolts for the basic suspension A-arms and
upright spindles were gun blued and corrosion treated. Where
possible (Like the upper A-arm mounts) I purchased aircraft NAS
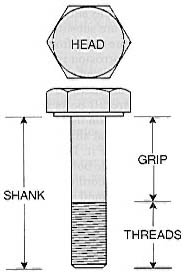
bolts. Before replacing hardware, measure the "grip" length
necessary for the combined thickness of the components the bolt is
securing. In this case, it's the upper A-arm and brake line
bracket. Grip length of the uppers is
-13'.