A/C AND ENVIRONMENTAL
VINTAGE AIR SYSTEM
A/C AND ENVIRONMENTAL
VINTAGE AIR SYSTEM

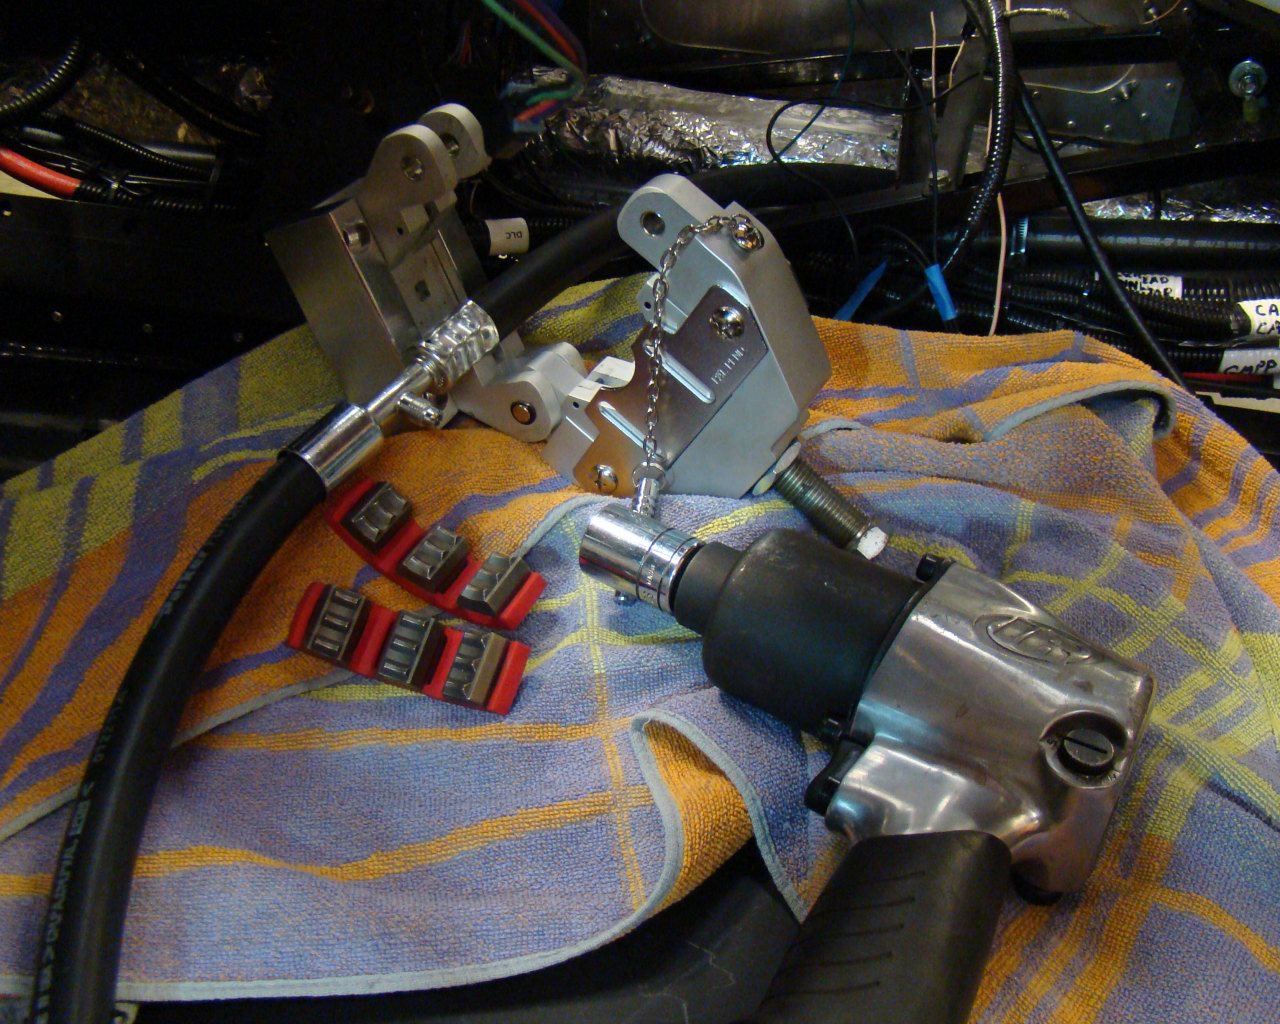
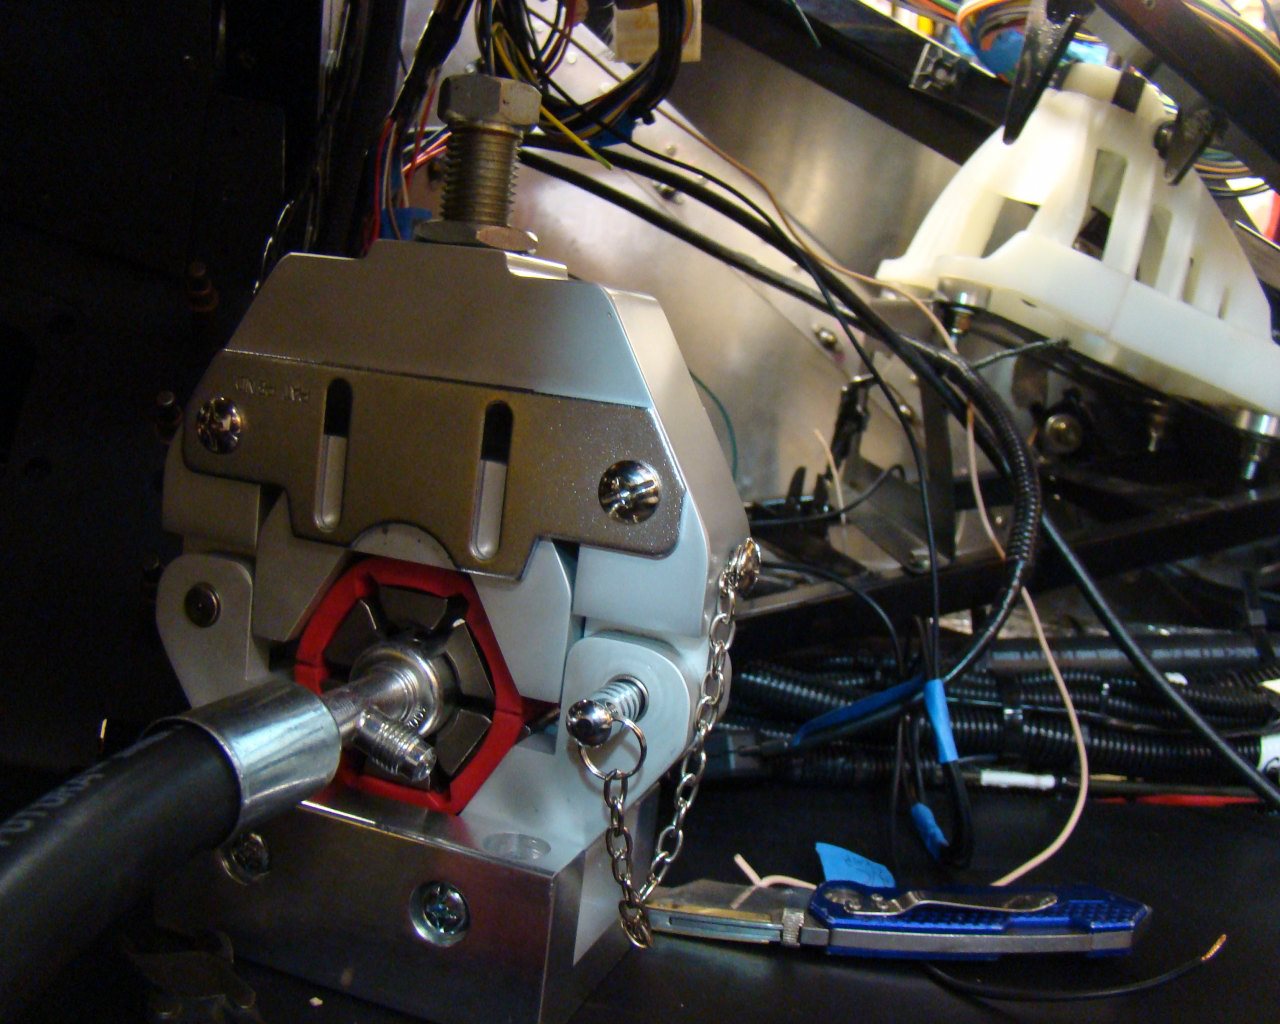
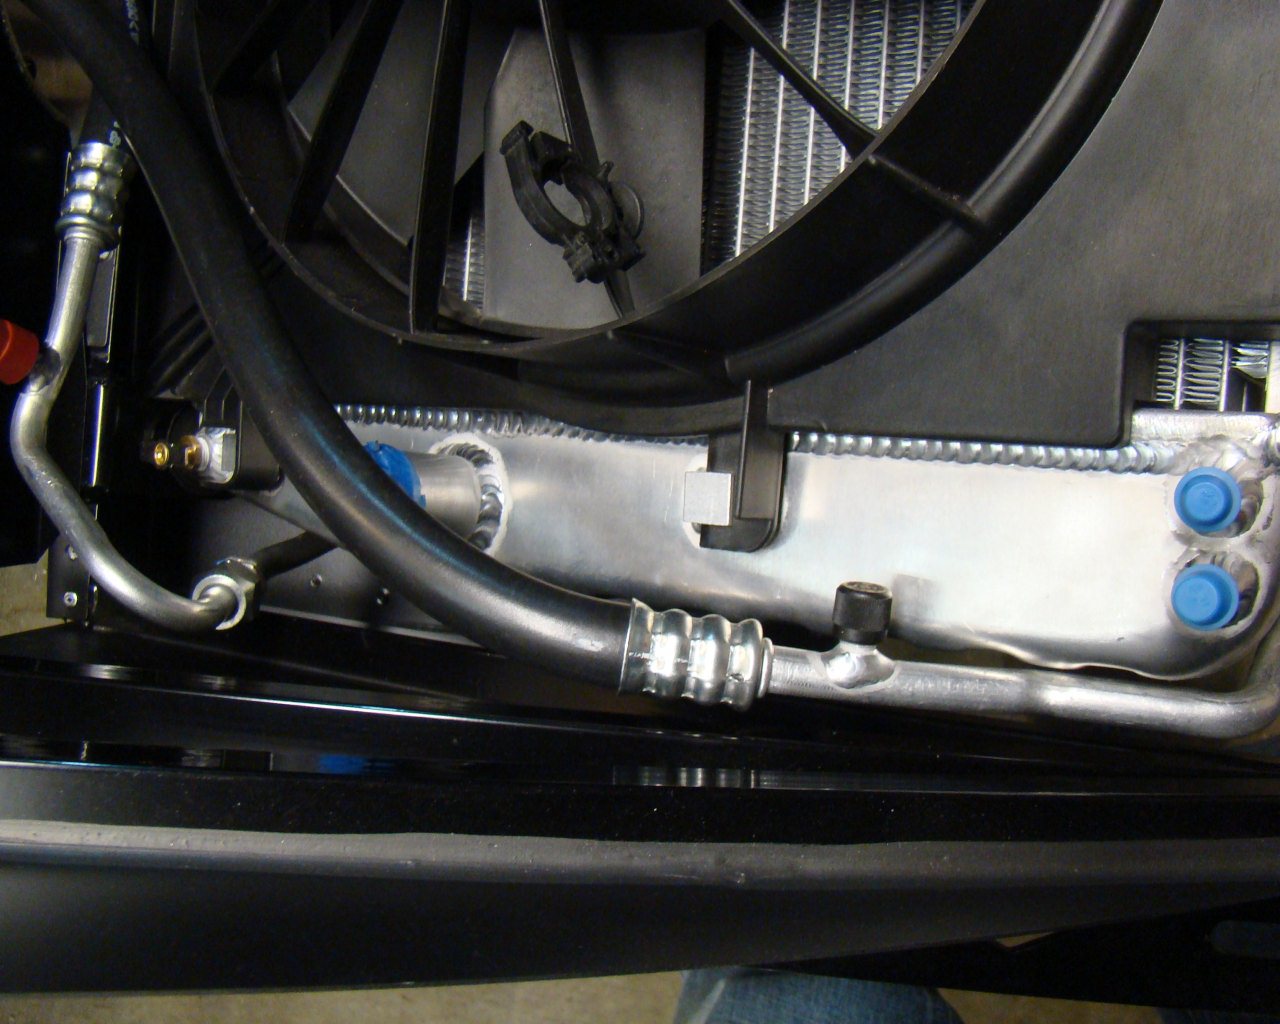
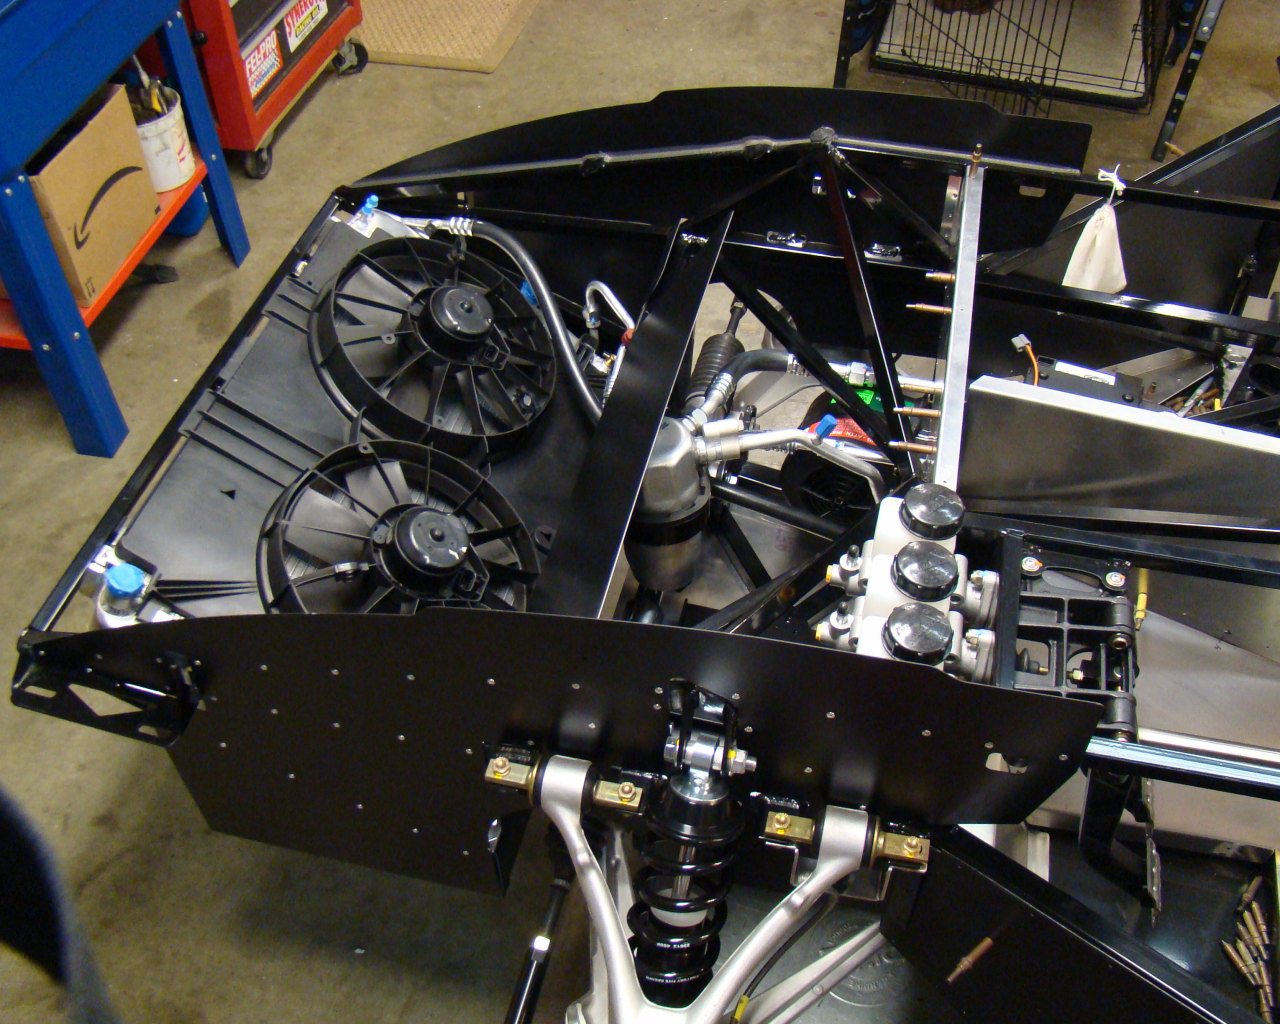
This picture is actually taken after
the lines were connected to the evaporator. A little
manipulation and they fit the dual Dewitts radiator without much
effort. The Dewitts C5 High Performance radiator was a nice
improvement and it didn't take much to make it work. Guys
either TIG weld tabs or you can fabricate clamping brackets made
from aluminum extruded angle riveted back to back as shown in the
cooling section. The Tabs are on the forward GTM frame cross
member. They sit approximately 1/8th inches forward of the
radiator. The fabricated brackets are easily adaptable over a
short distance and provide plenty of rigidity or strength for
holding the radiator in place. The condenser is installed
into the Dewitts tabs until the assembly is fully seated. An
additional "U" channel riveted to an aluminum plate holds the
condensor coil in it's seated position while also interfacing the
tab on the GTM forward cross member tab. Two on the outside for the
radiator and one in the center for the condenser...works
great.
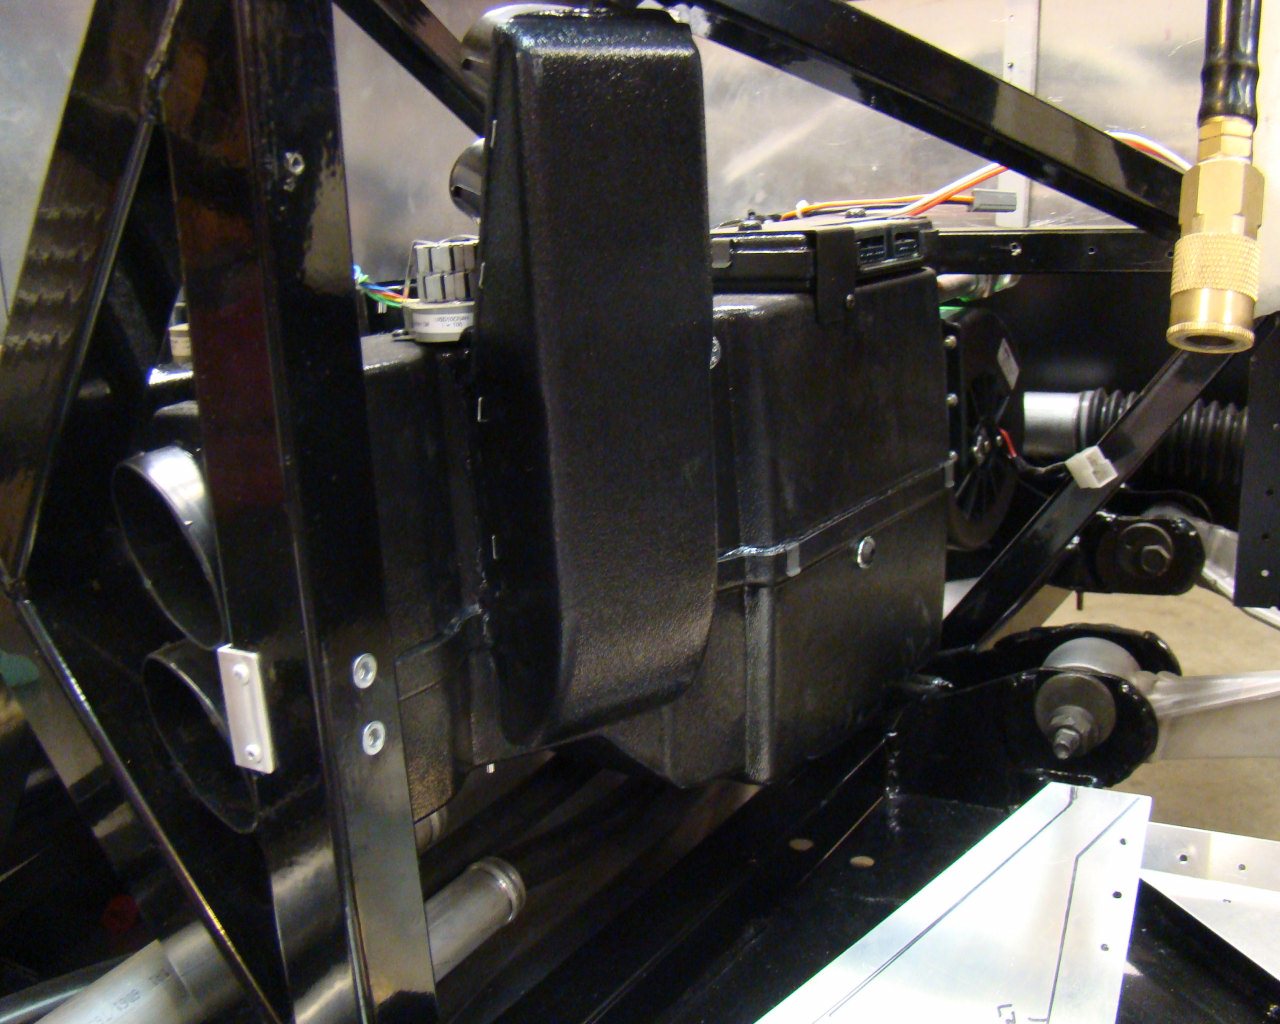
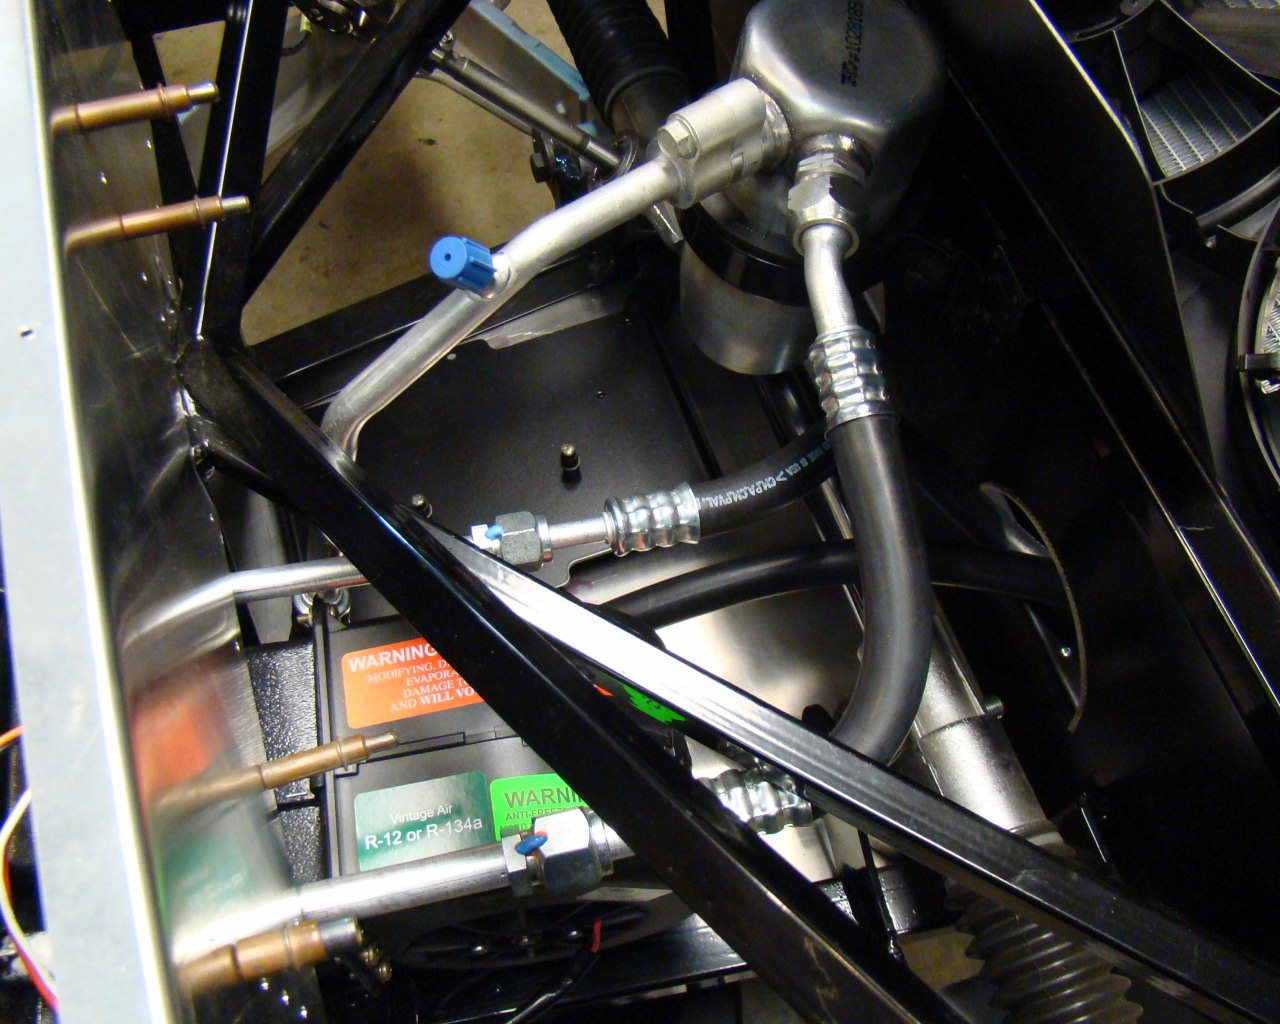
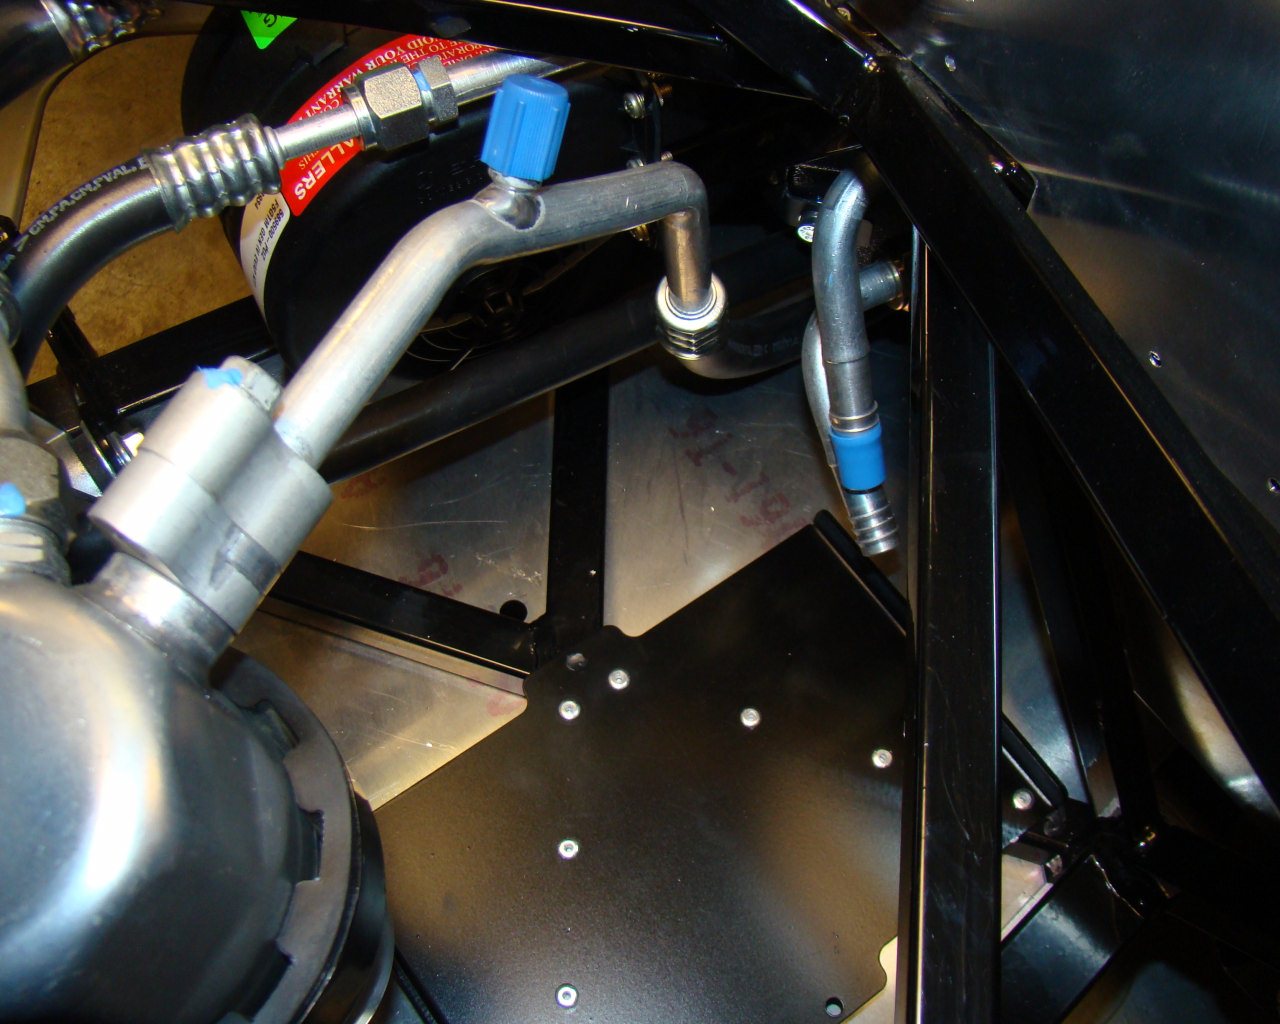
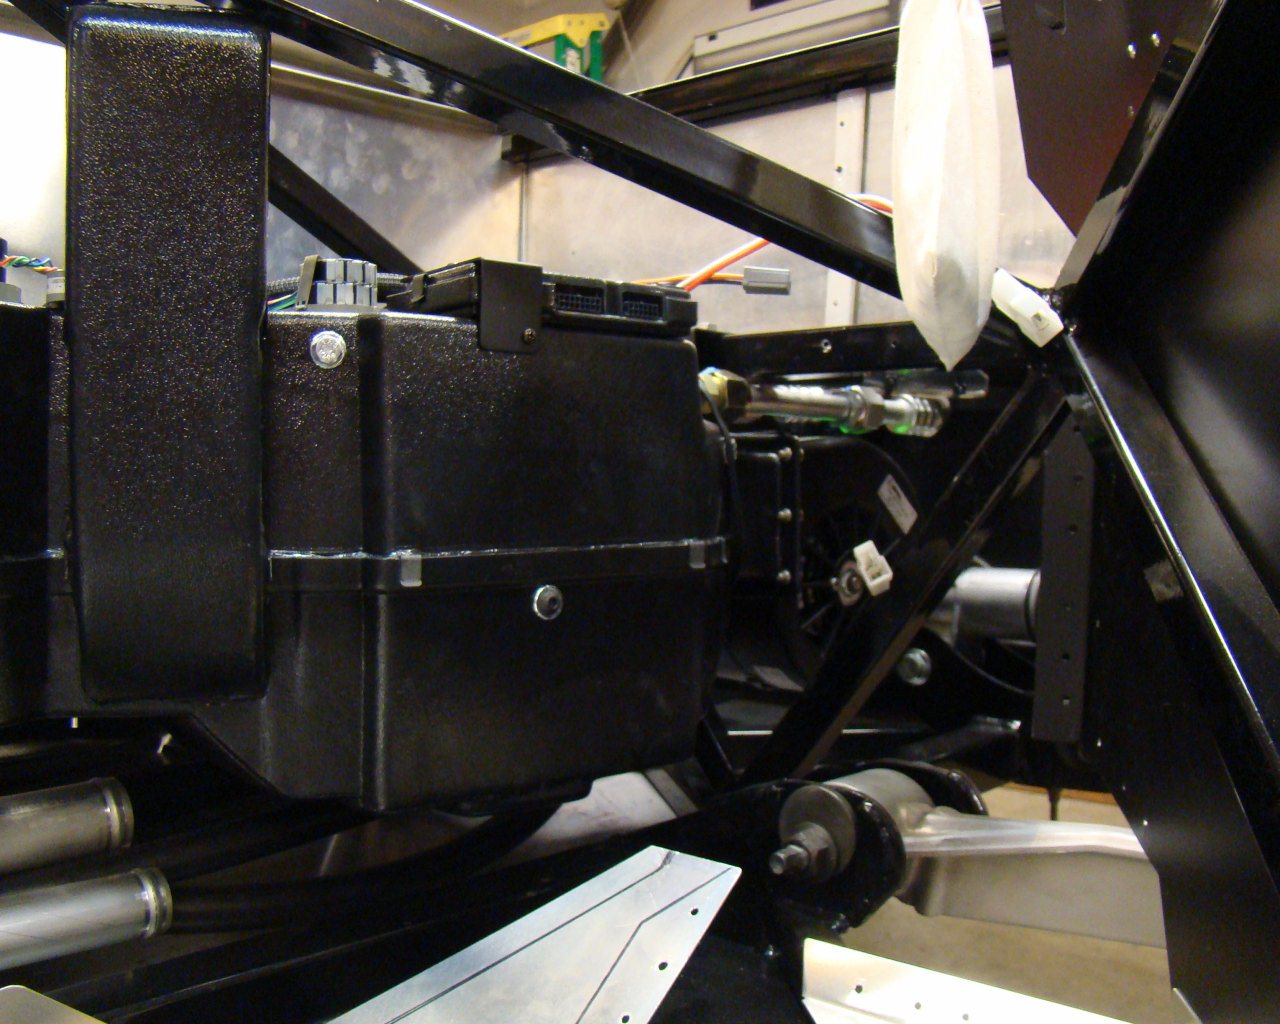
This shows
the basic position of the evaporator assembly. It really
doesn't have much to move once manuevered into position.
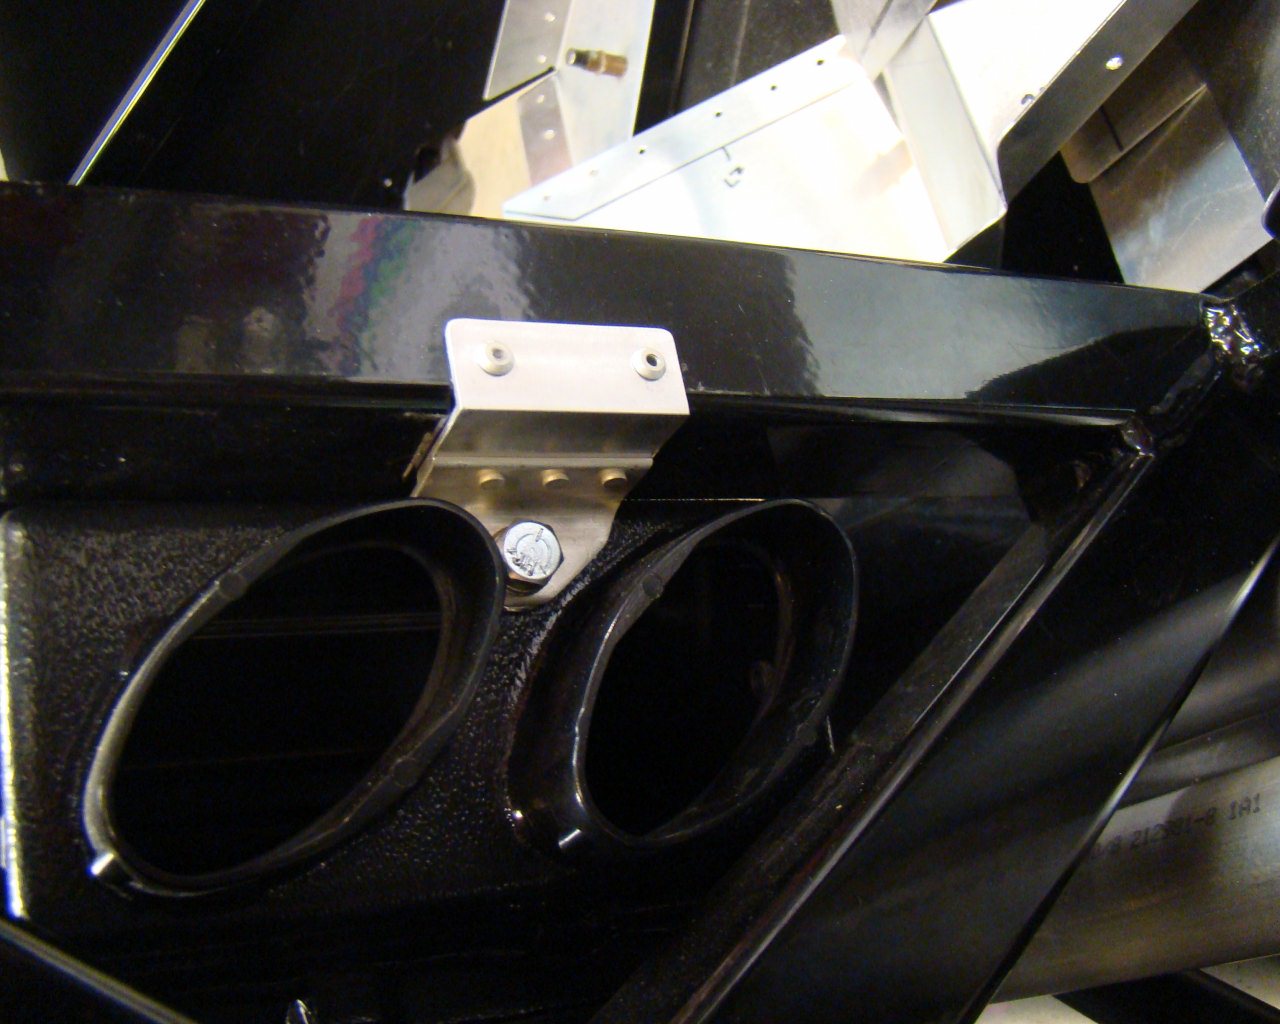
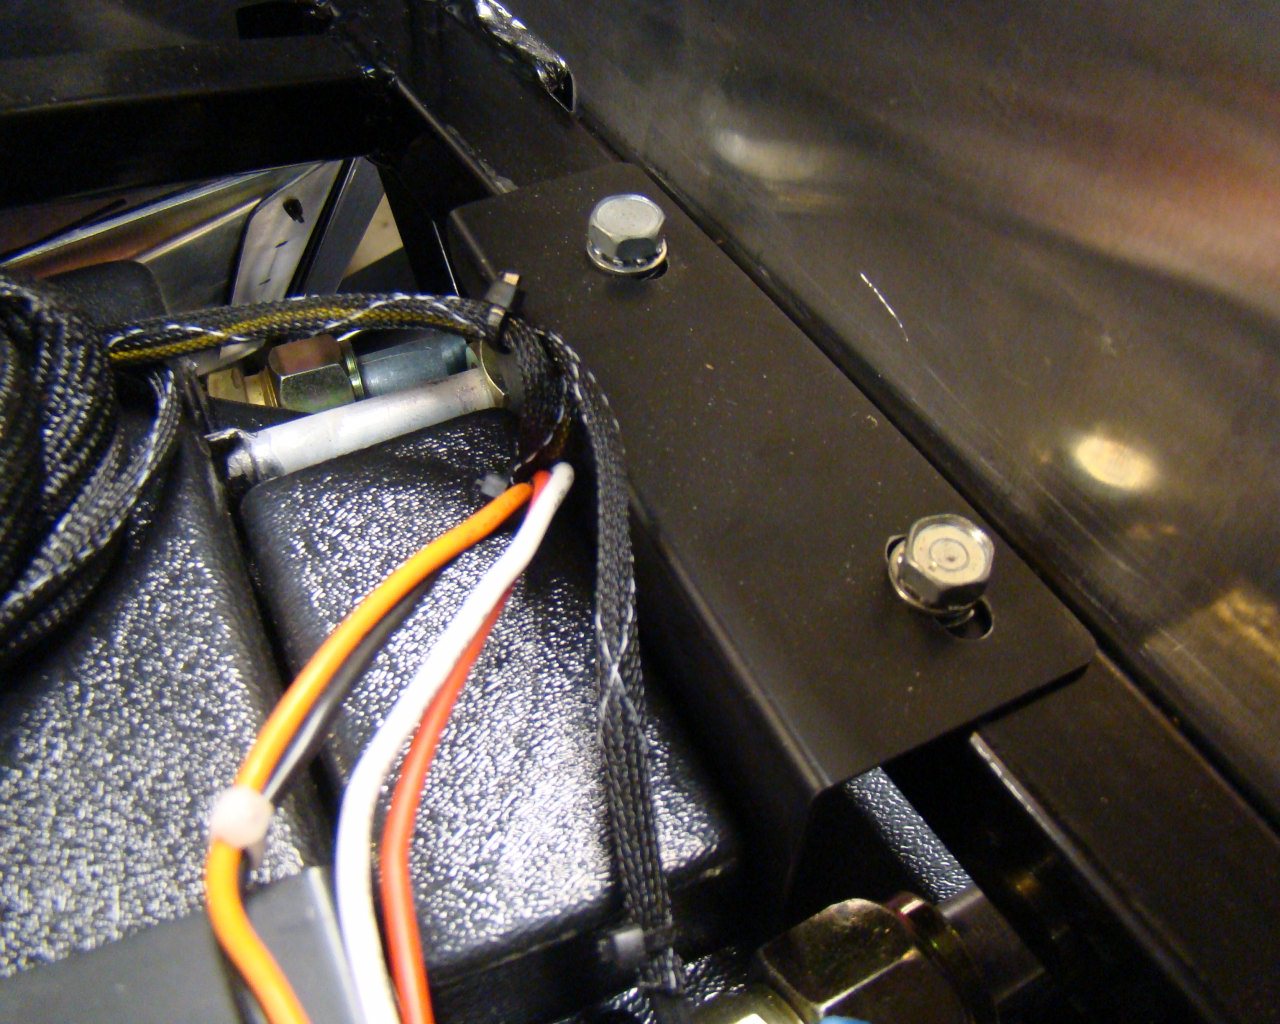
Notice the tab fabricated from aluminum angle. This seems to
work better than the steel tab that comes with the kit. For
that one to work, it must be bent or joggled to fit around the
backside of the vertical frame tube. I'm assuming the
aluminum bracket will not interfere with something later. The
bracket can also be seen two pictures below. Even without it, the
unit fits snugly and is held by the forward steel angle bolted to
the intermediate cross member.
FFR says you
can trim the steel angle but it's a little unclear until you get
the evaporator into position. Once there, the left forward
edge runs into the aluminum panel forward of the angle. I
didn't have to trim this one but it took a slight effort to pull it
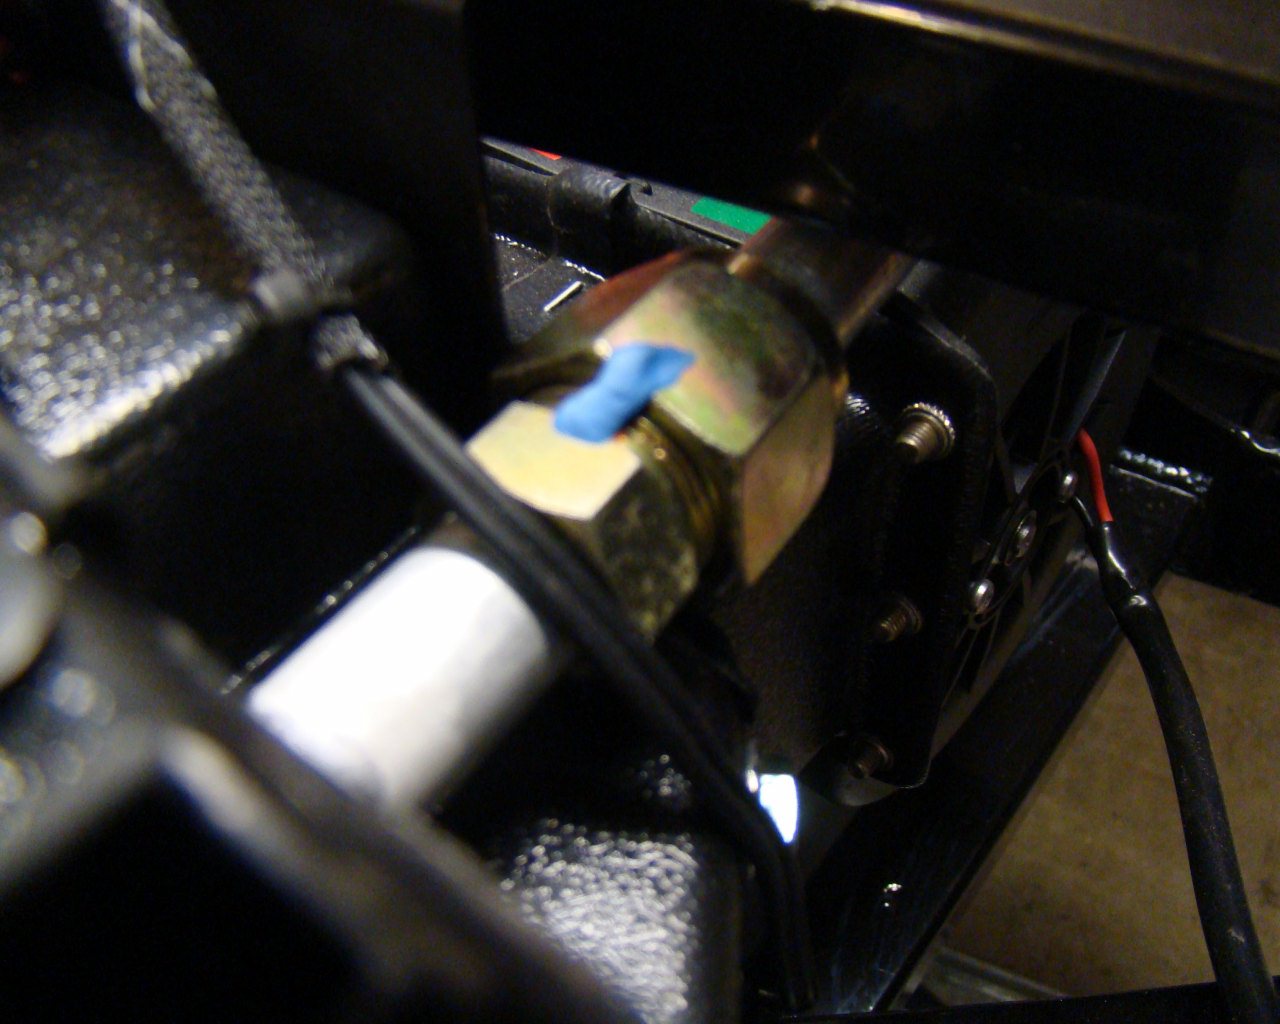
back to install the bolt. The rivnuts here are 1/4-20 and the
hole diameter in the frame for this rivnut is 15/64ths. A drill or
reamer slightly over 3/8ths is what this turns out to be. Somewhere
near .380 inches.
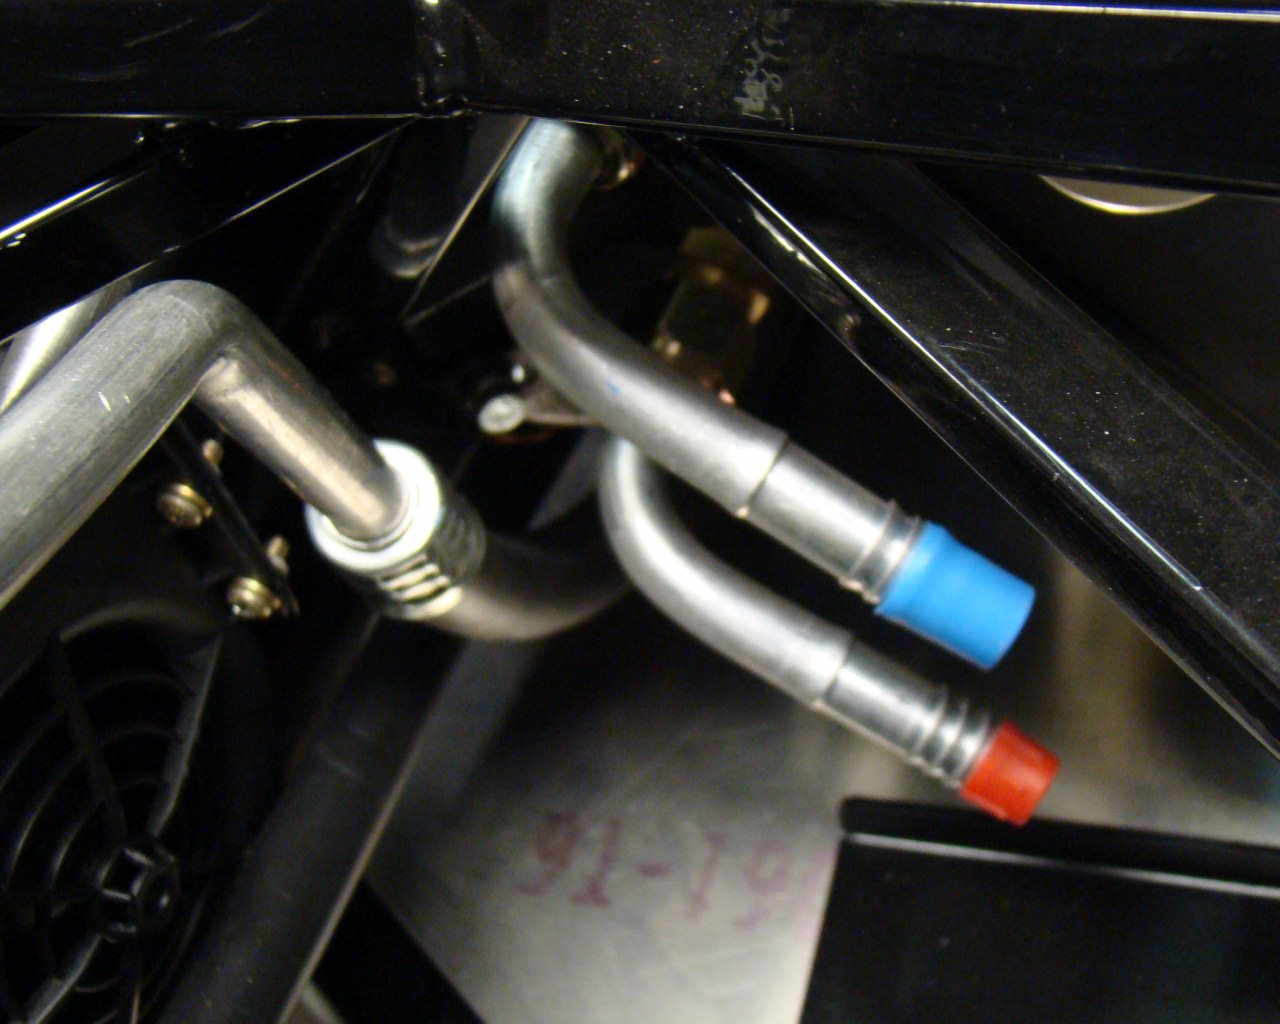
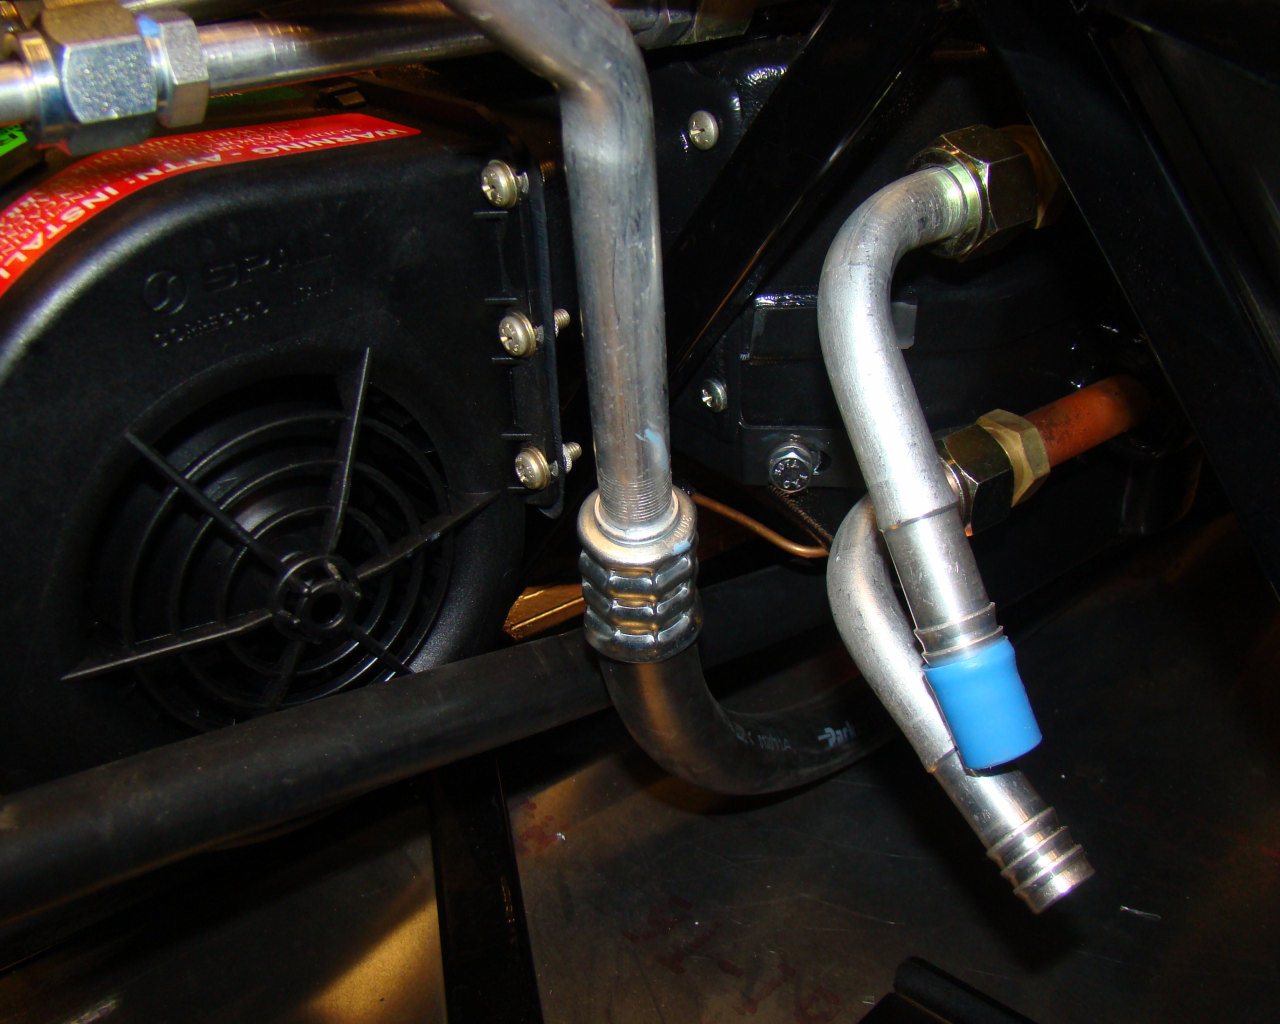
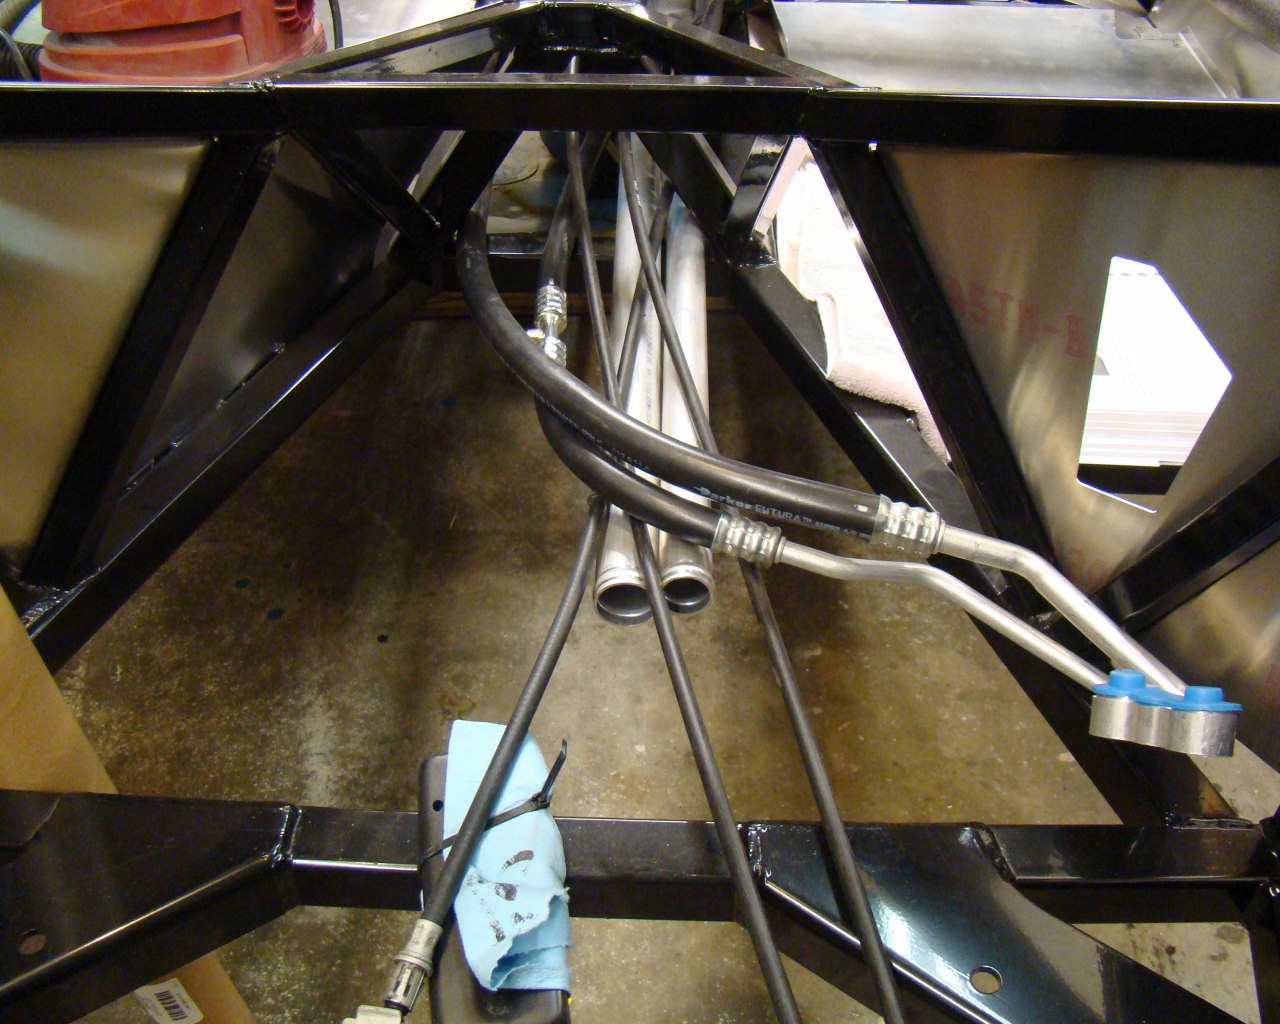
The line
connections are covered by the Vintage Air instructions and are
straight forward. You need to make sure you can get a wrench
on the fittings and that the lines are not hitting the frame.
FFR says you can drop the unit so that the angle resides on the
lower portion of the frame....about an inch lower. This would
not work and it was not necessary on this car. There simply
isn't enough movement available to accomodate accessibility, fit of
the unit in this area and the installation of the forward duct and
blower unit.
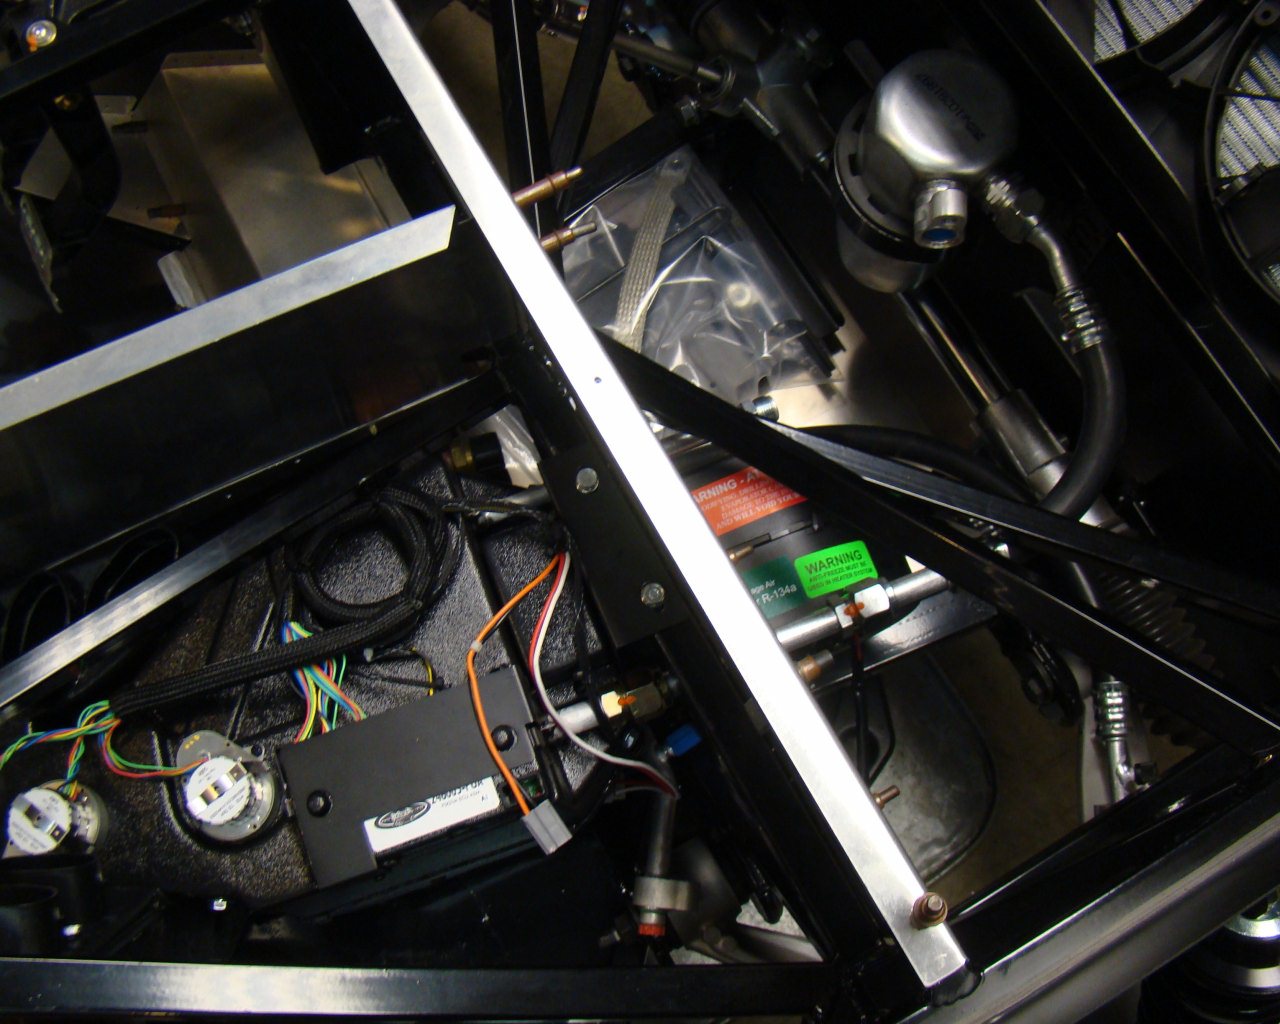
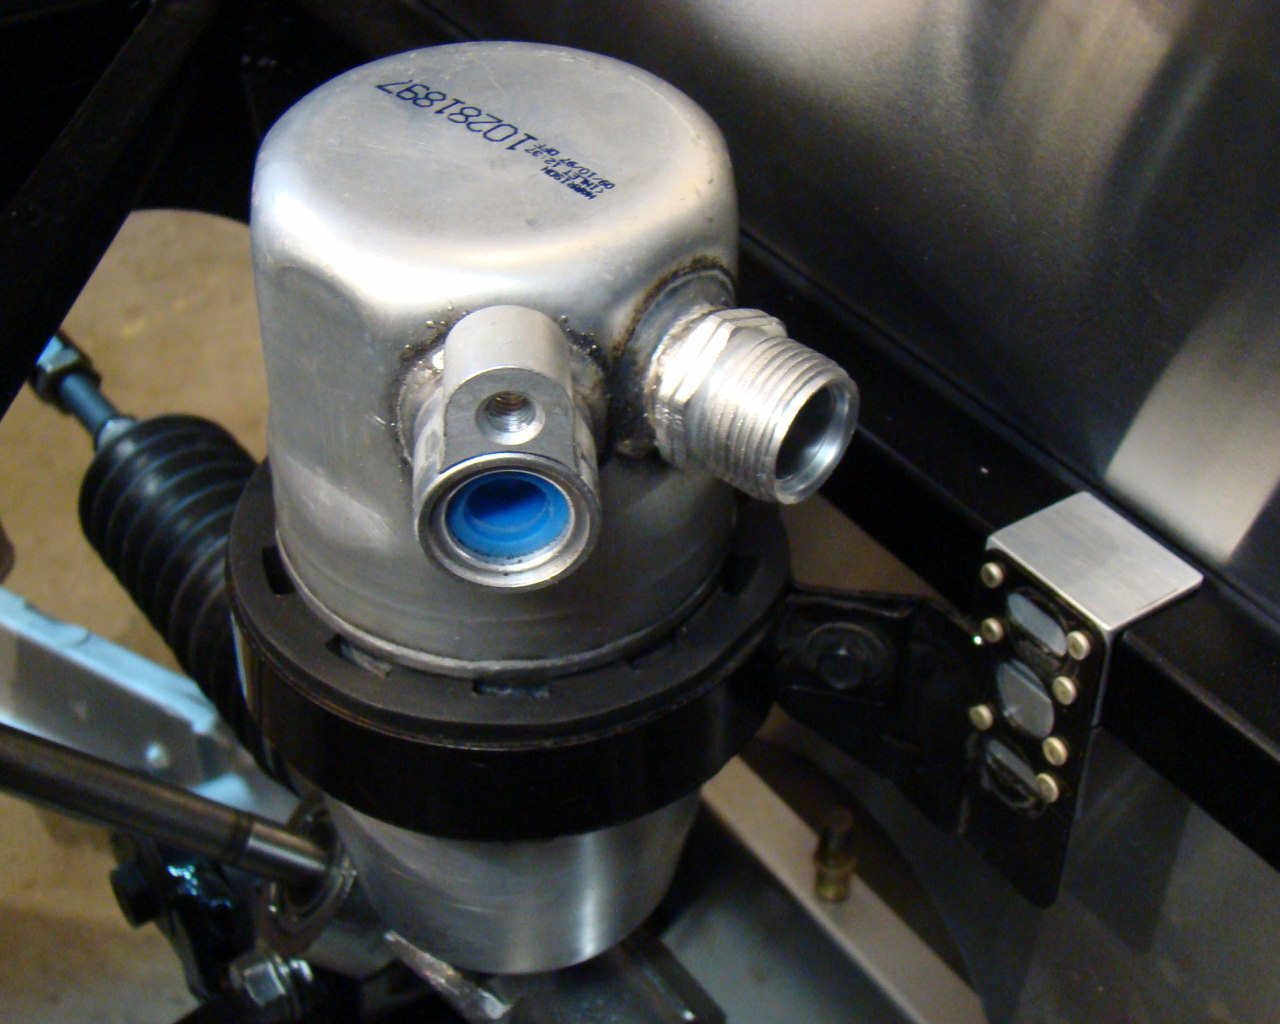
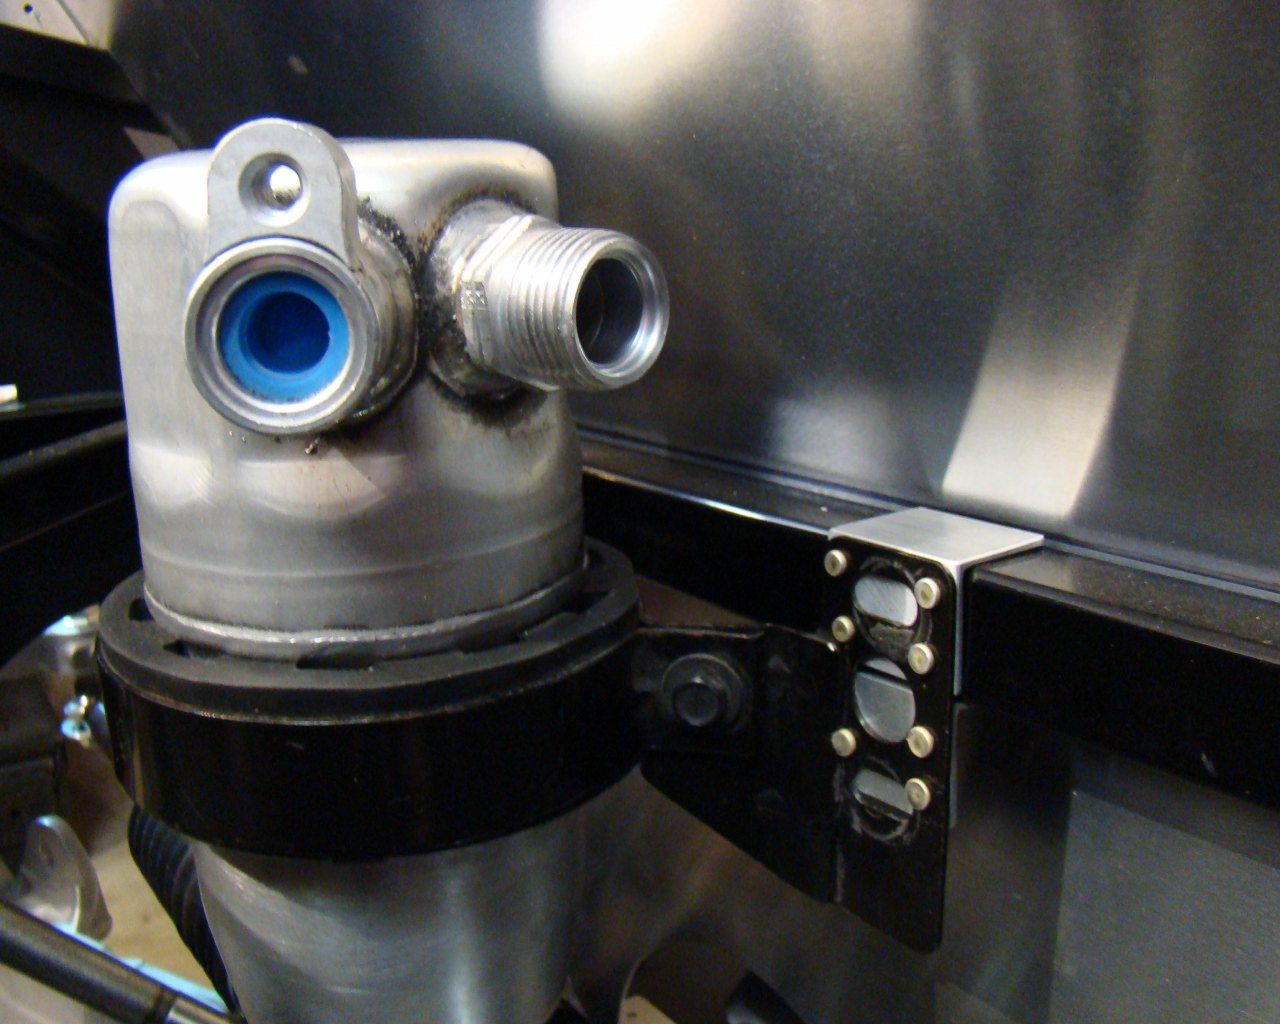
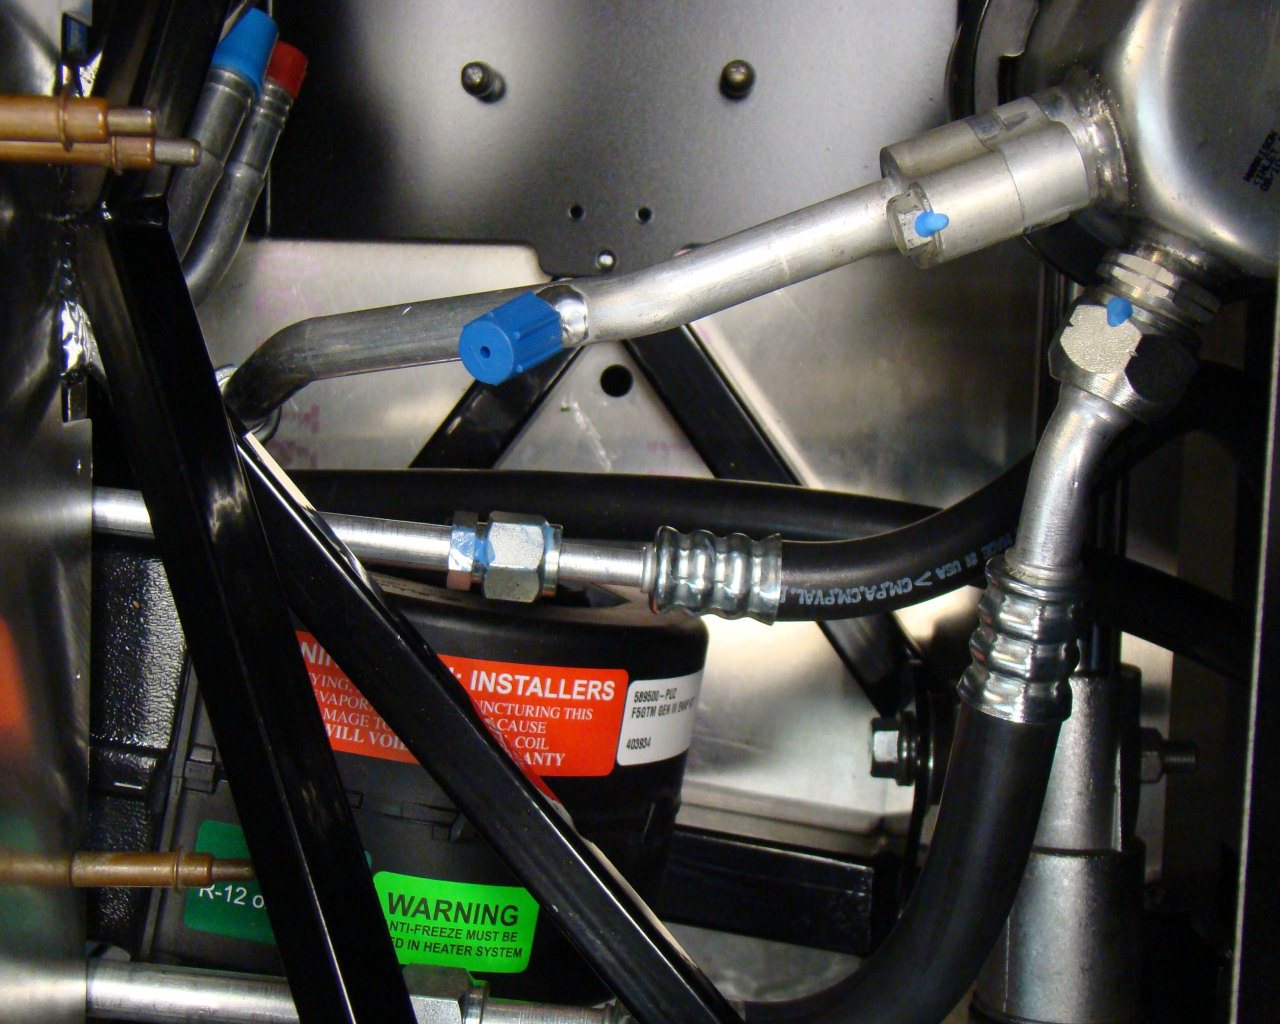
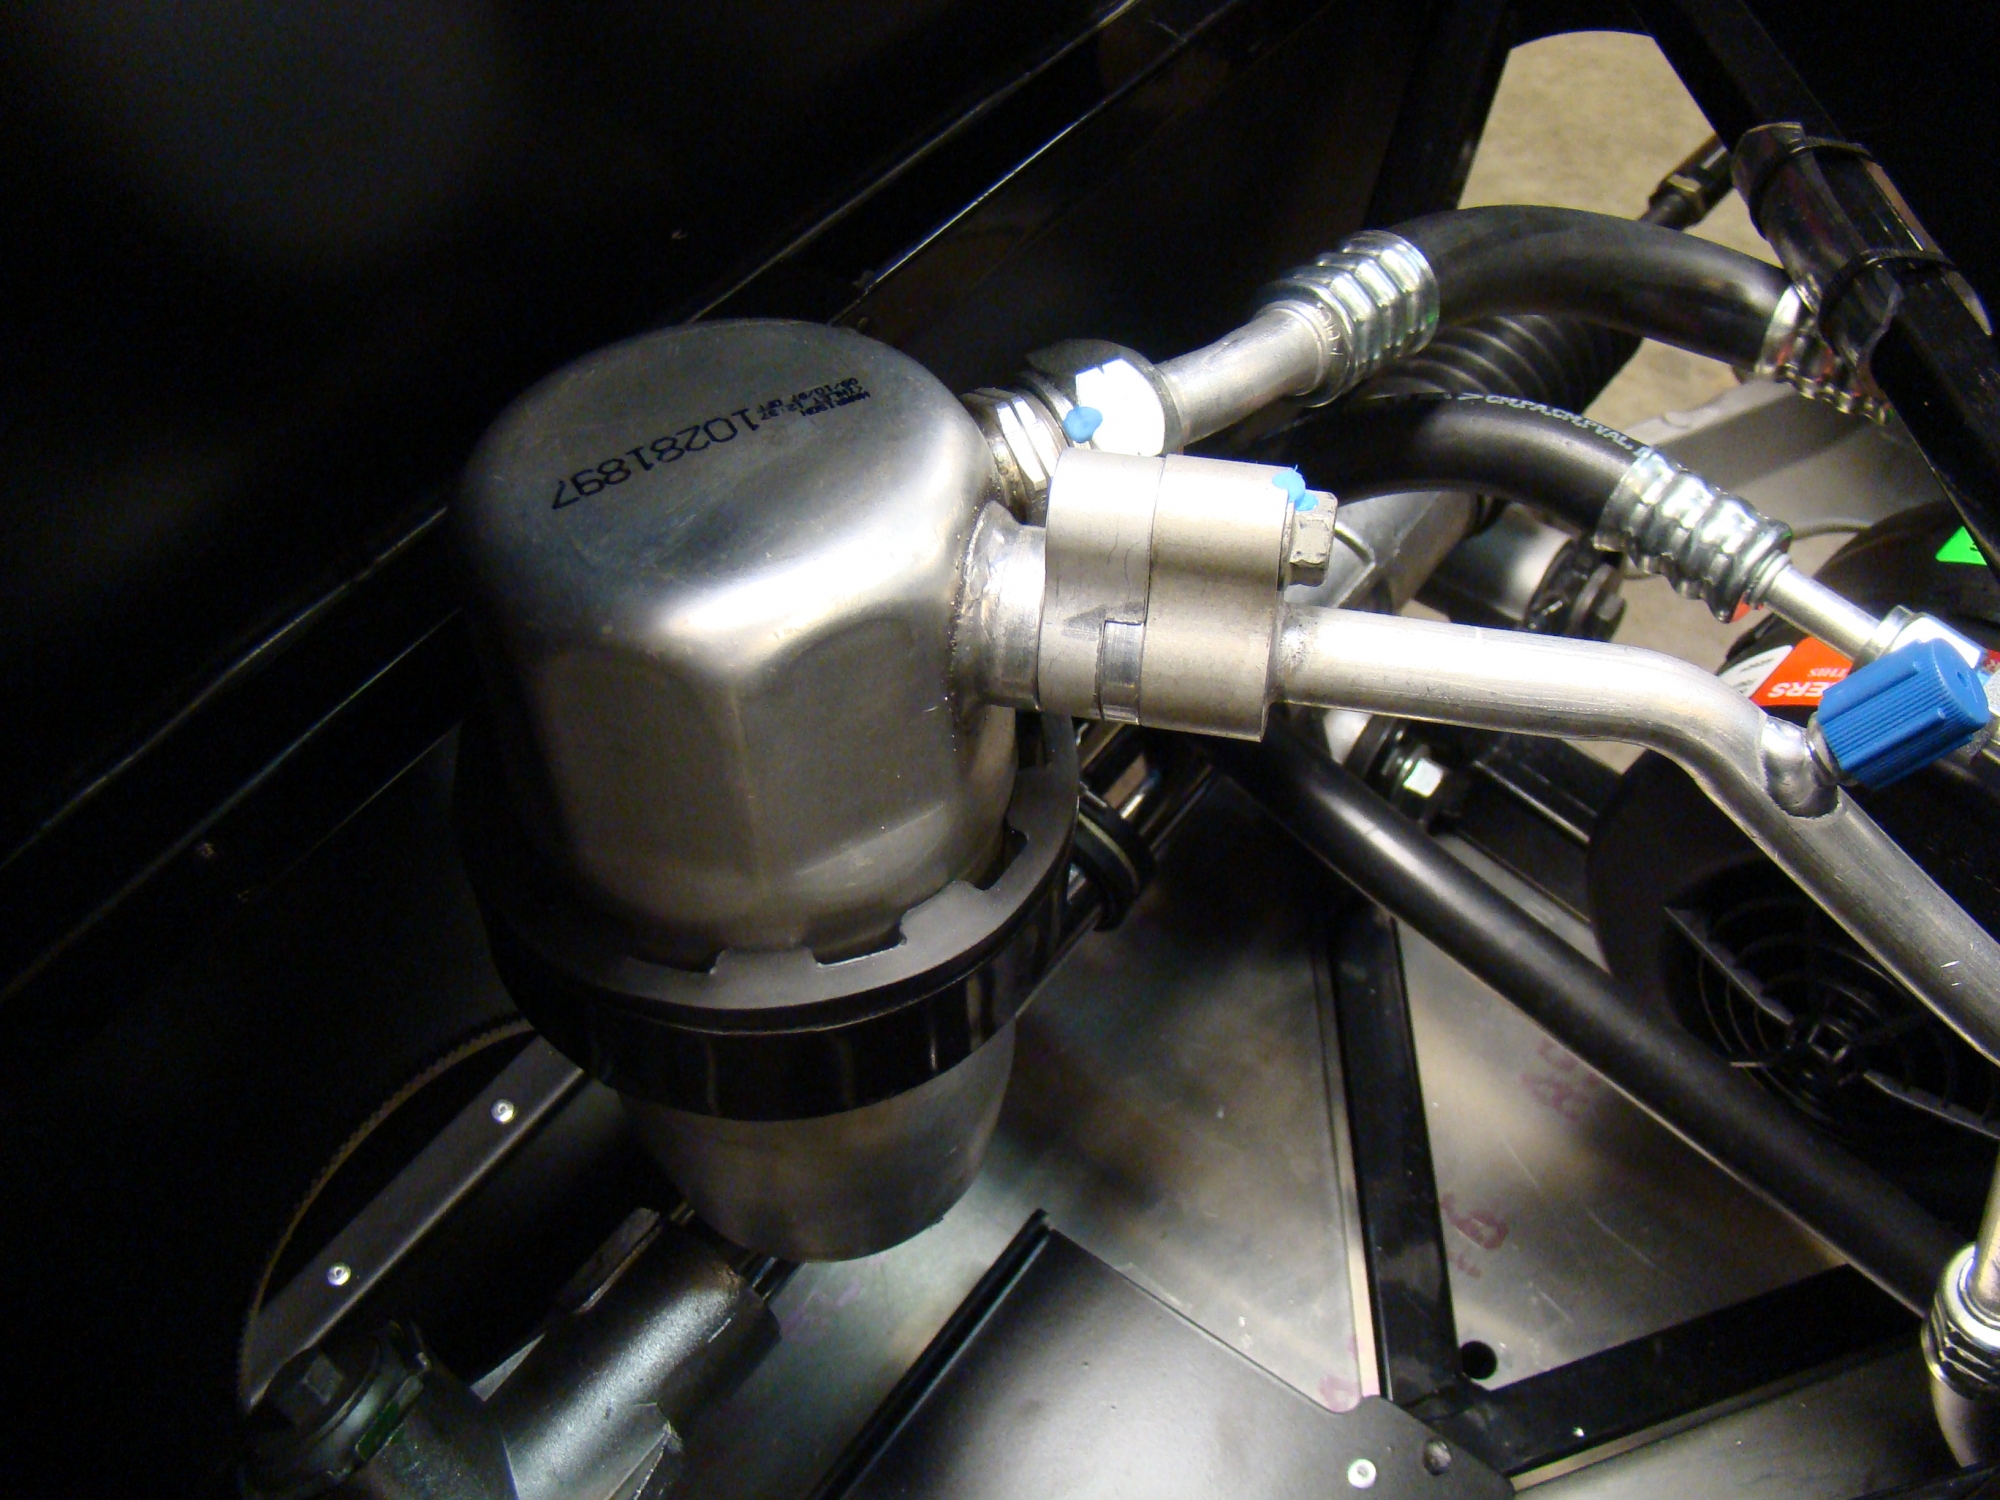
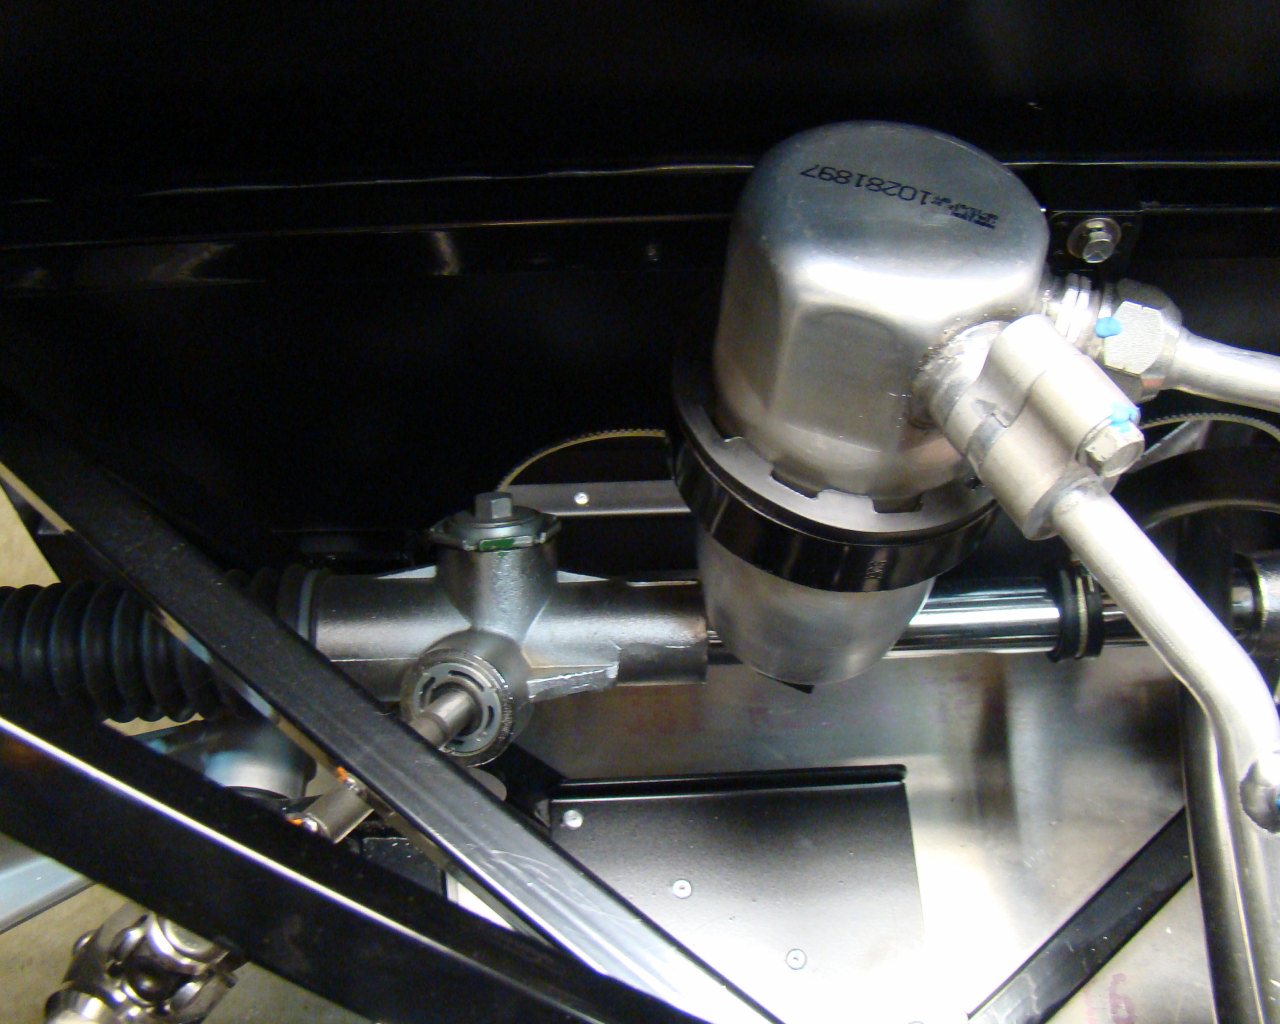
This shows the system components. The dryer was mounted
using a stock Corvette bracket modified with an additional channel
that allowed the unit to be placed on the frame without falling
off. As the hose routing was adjusted, the unit could be slid
left and right but remained in place. When hose routing was
complete, I drilled the hole through the mount and frame.
Although the bolt holds it in place, the added angle spreads the
load and supports the weight and prevents the unit from spinning if
the bolt is loose.
